Licht und Schatten
Bild: © DMAX
Licht und Schatten
Bild: © DMAX
Krokodilalarm
Bild: © DMAX
Licht und Schatten
Bild: © DMAX
Licht und Schatten
Bild: © DMAX
Goldsucher in der Klemme
Bild: © Sharespacer
Mit dem Rücken zur Wand
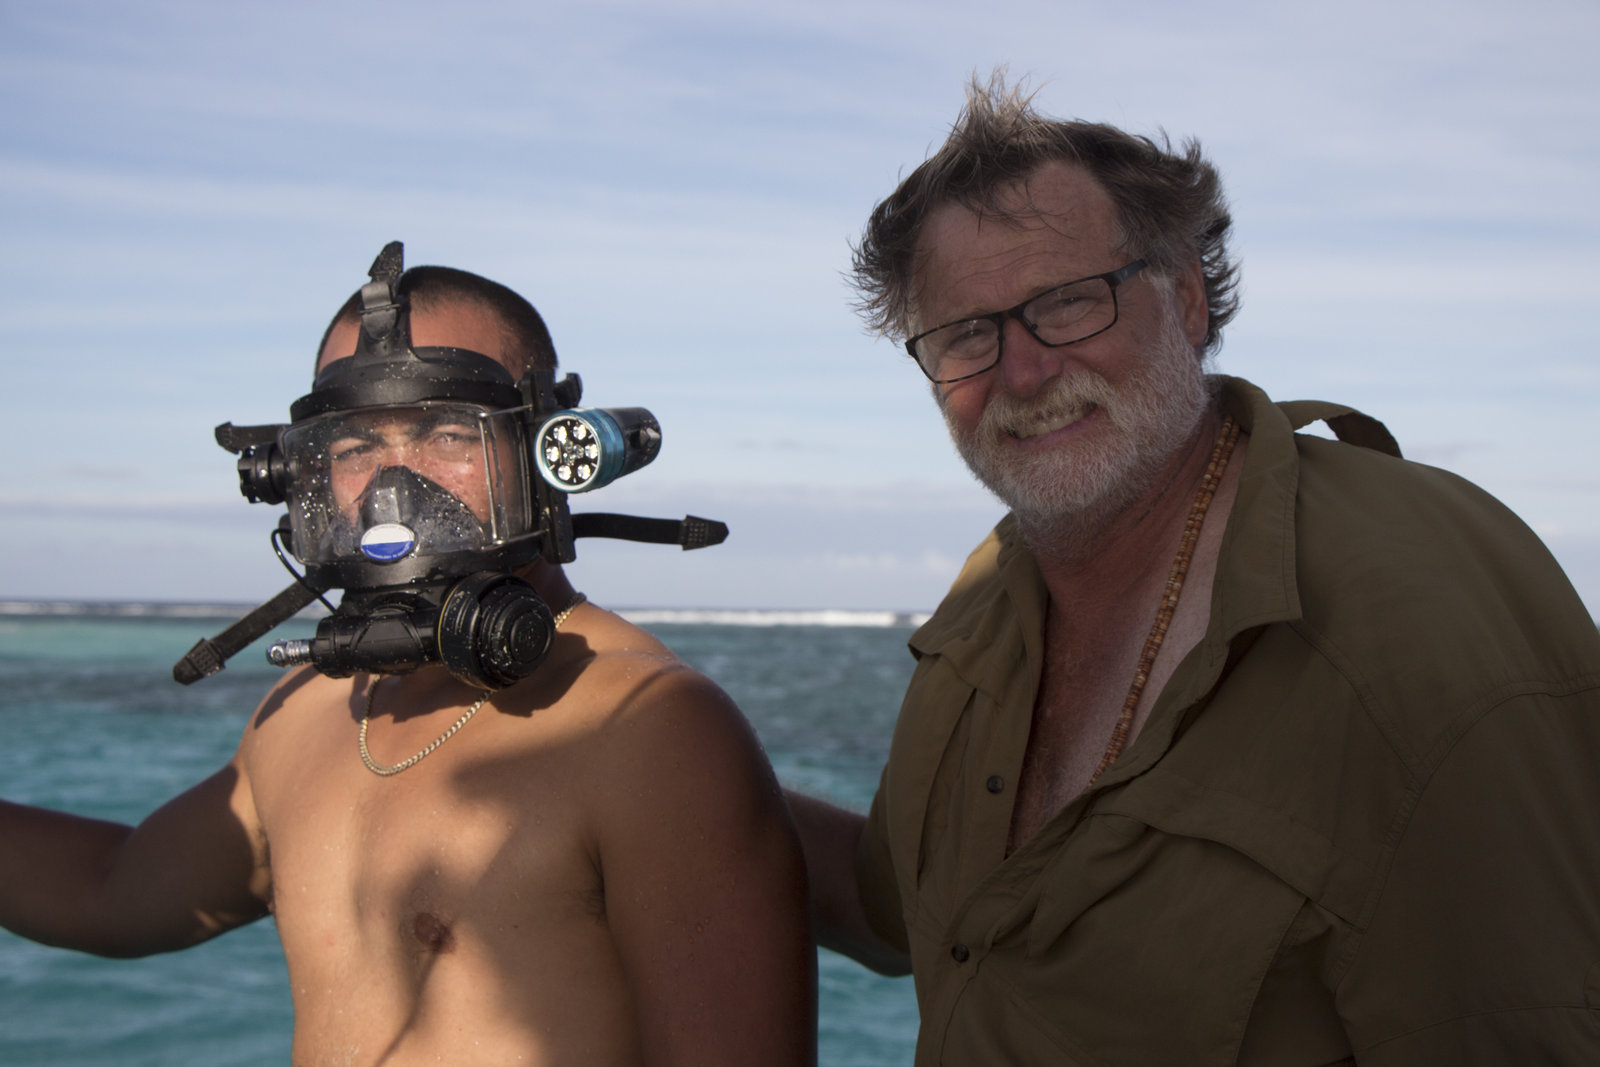
Farley and Sekeli before he dives in.
Bild: © Animal Planet / Discovery Communications
Goldsucher in der Klemme
Bild: © Alex Eastburg / Animal Planet / Discovery Communications
Goldsucher in der Klemme
Bild: © Alex Eastburg / Animal Planet / Discovery Communications
Goldsucher in der Klemme
Bild: © Sharespacer
Mit dem Rücken zur Wand
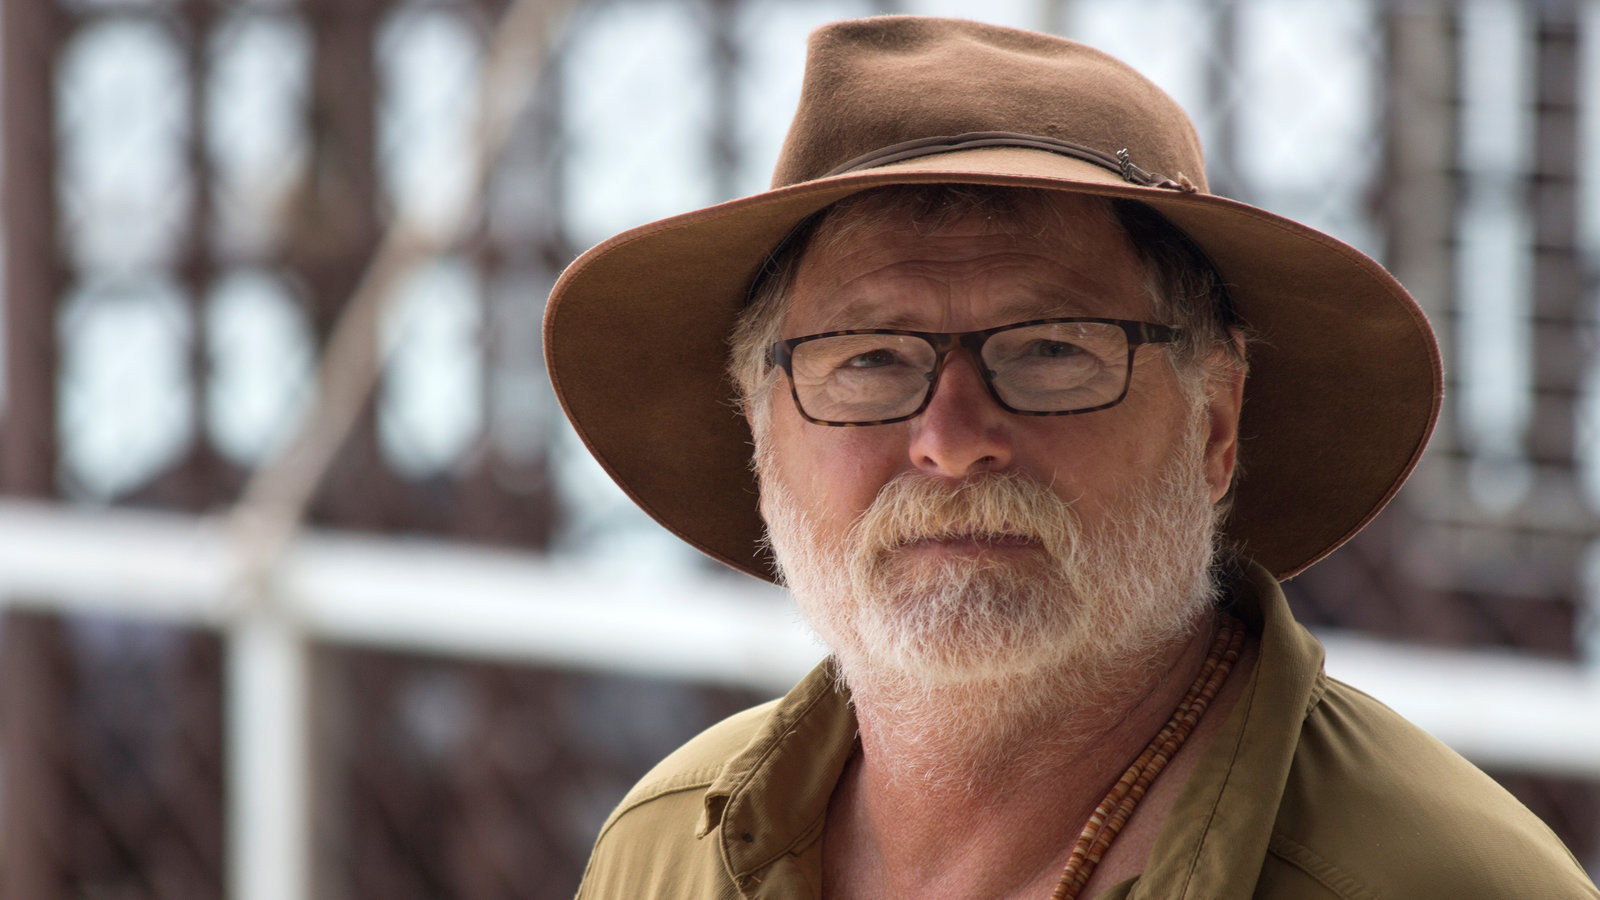
Todd smiling.
Bild: © Animal Planet / Discovery Communications
Goldsucher in der Klemme
Bild: © Sharespacer
Licht und Schatten
Ian does his picture pose.
Bild: © Animal Planet / Discovery Communications / Alex Eastburg
Goldsucher in der Klemme
Bild: © Alex Eastburg / Animal Planet / Discovery Communications
Mit dem Rücken zur Wand
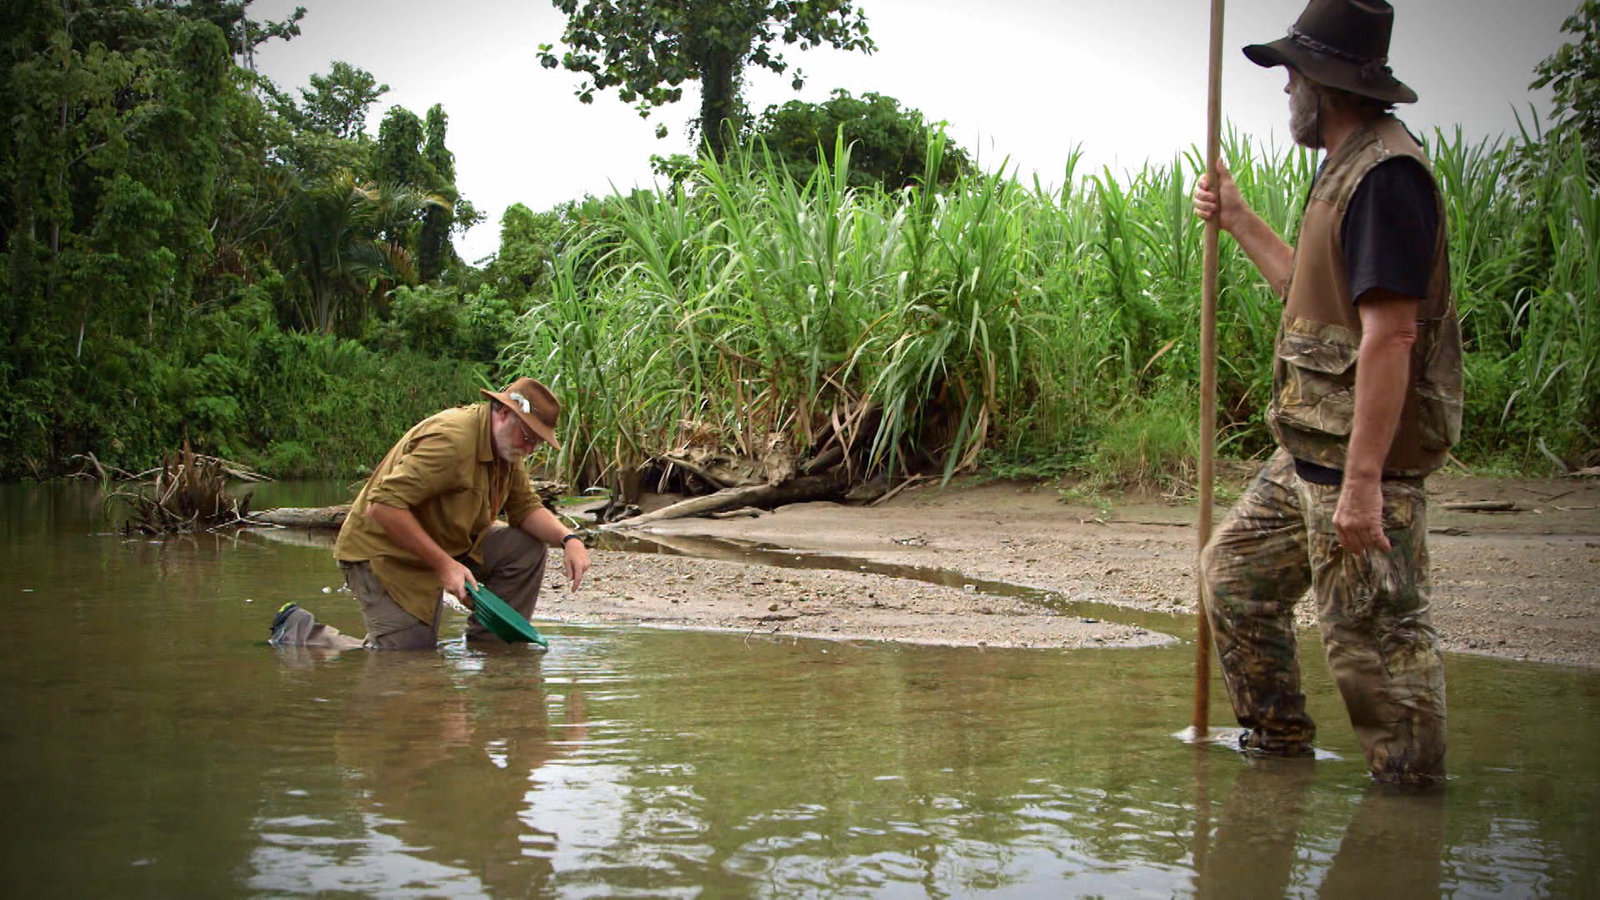
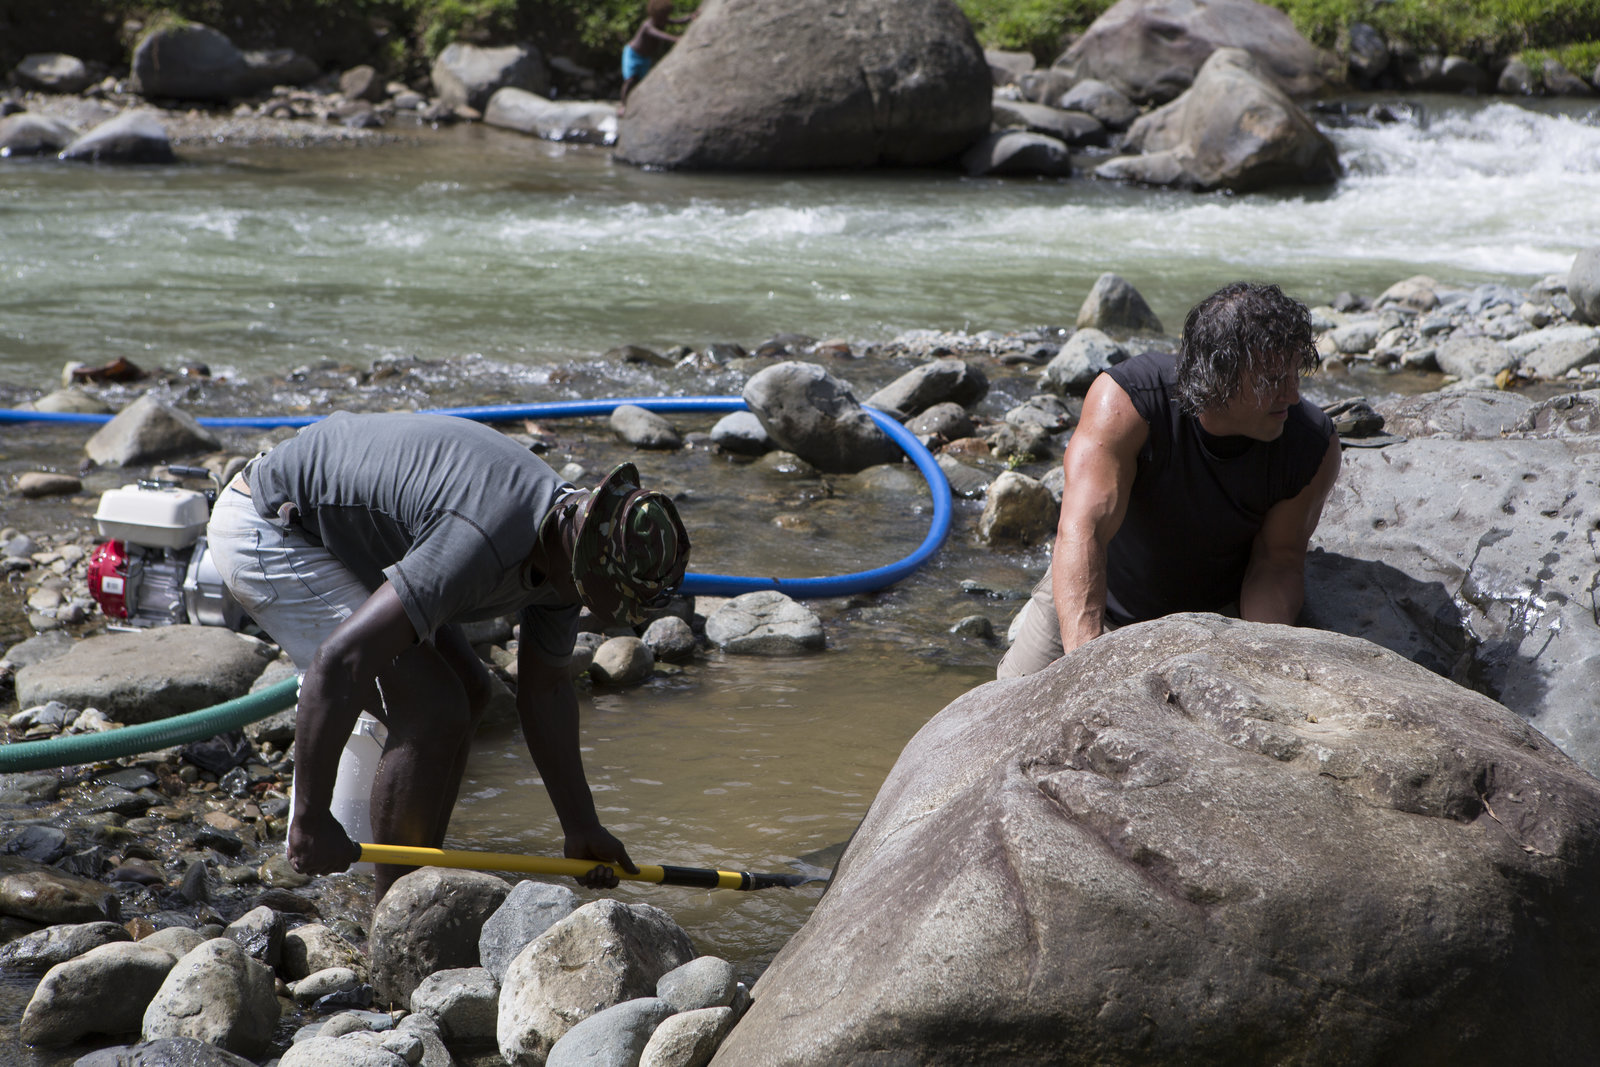
Ian and Wendle digging for gold.
Bild: © Joseph F. Quigley / Discovery Communications / Animal Planet