Anmeldung zur kostenlosen Serienstart-Benachrichtigung für
- E-Mail-Adresse
- Für eine vollständige und rechtzeitige Benachrichtigung übernehmen wir keine Garantie.
- Fragen & Antworten
Invasion der Tiere
(Killer Aliens) USA, 2009

5 Fans- Serienwertung0 26146noch keine Wertungeigene: –
Bildergalerie zu "Invasion der Tiere"
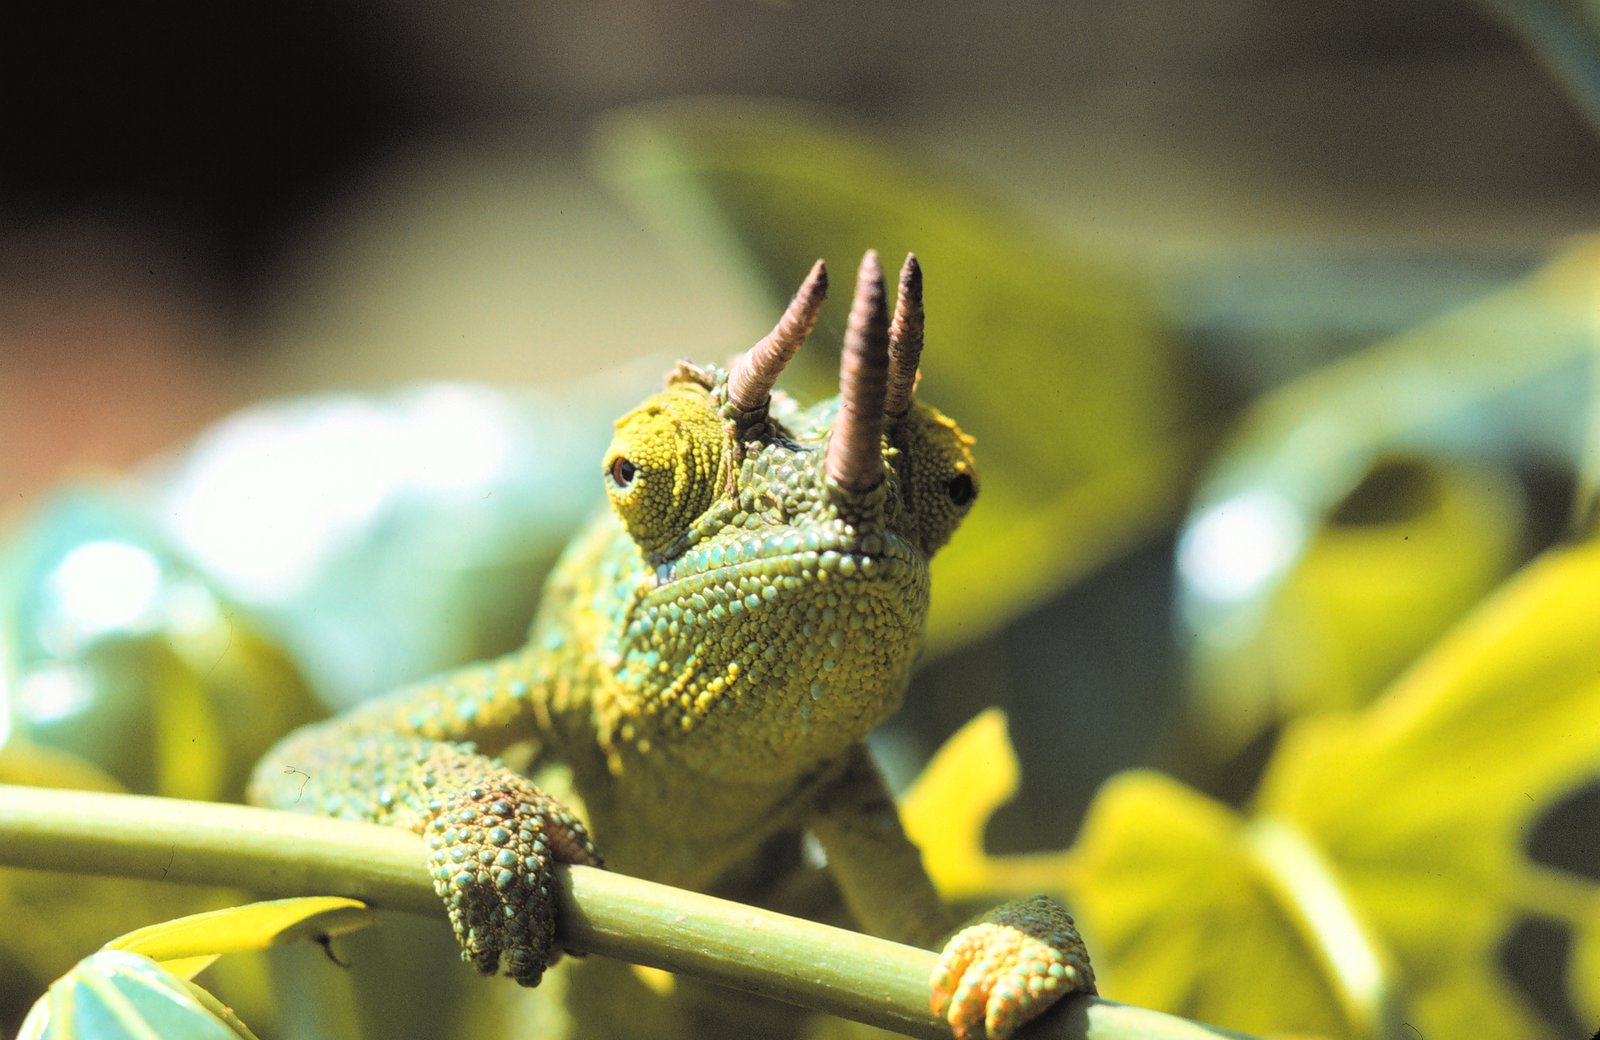
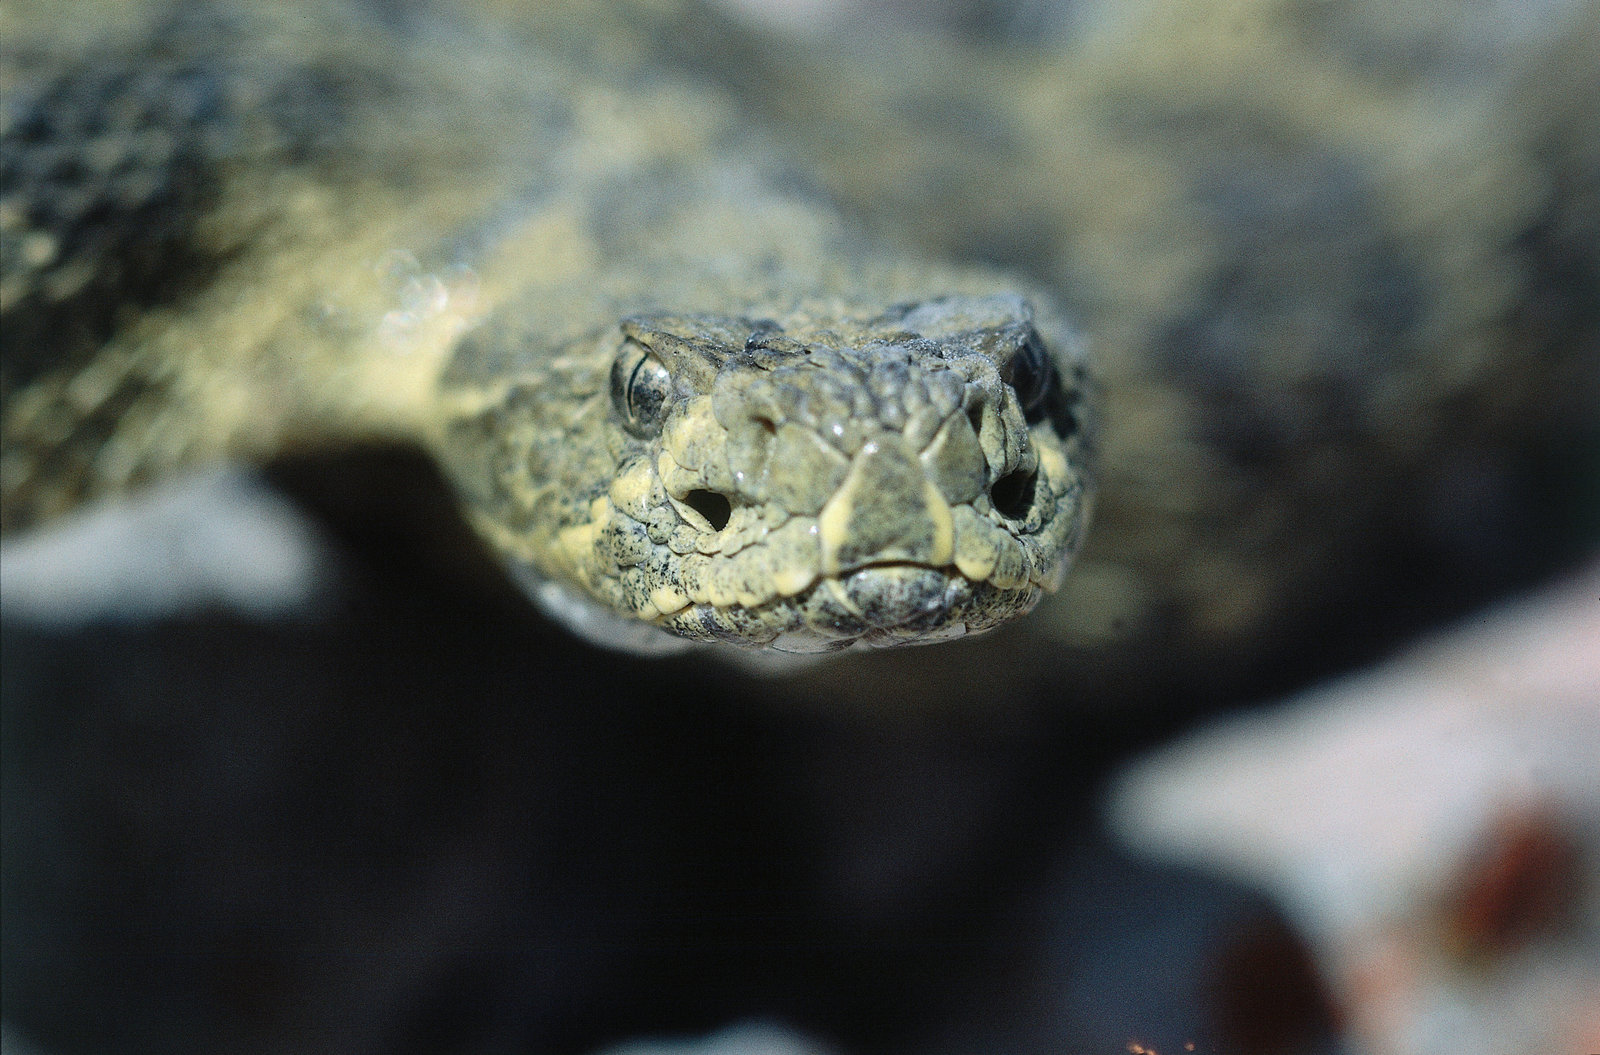
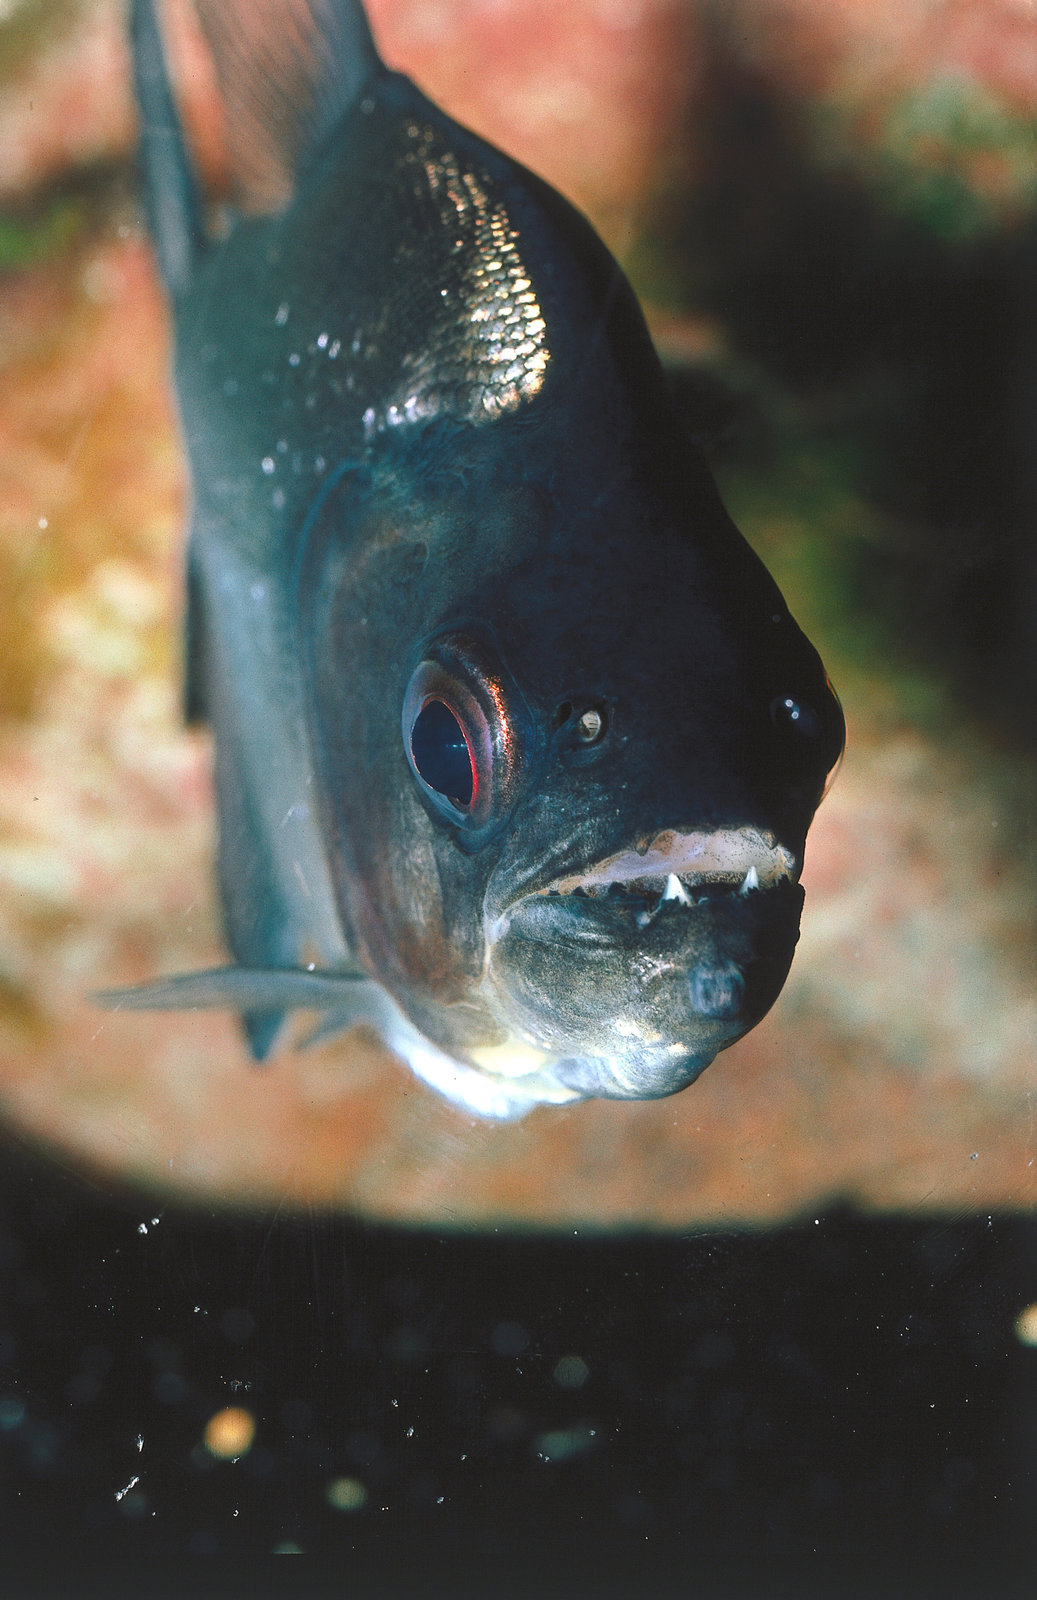
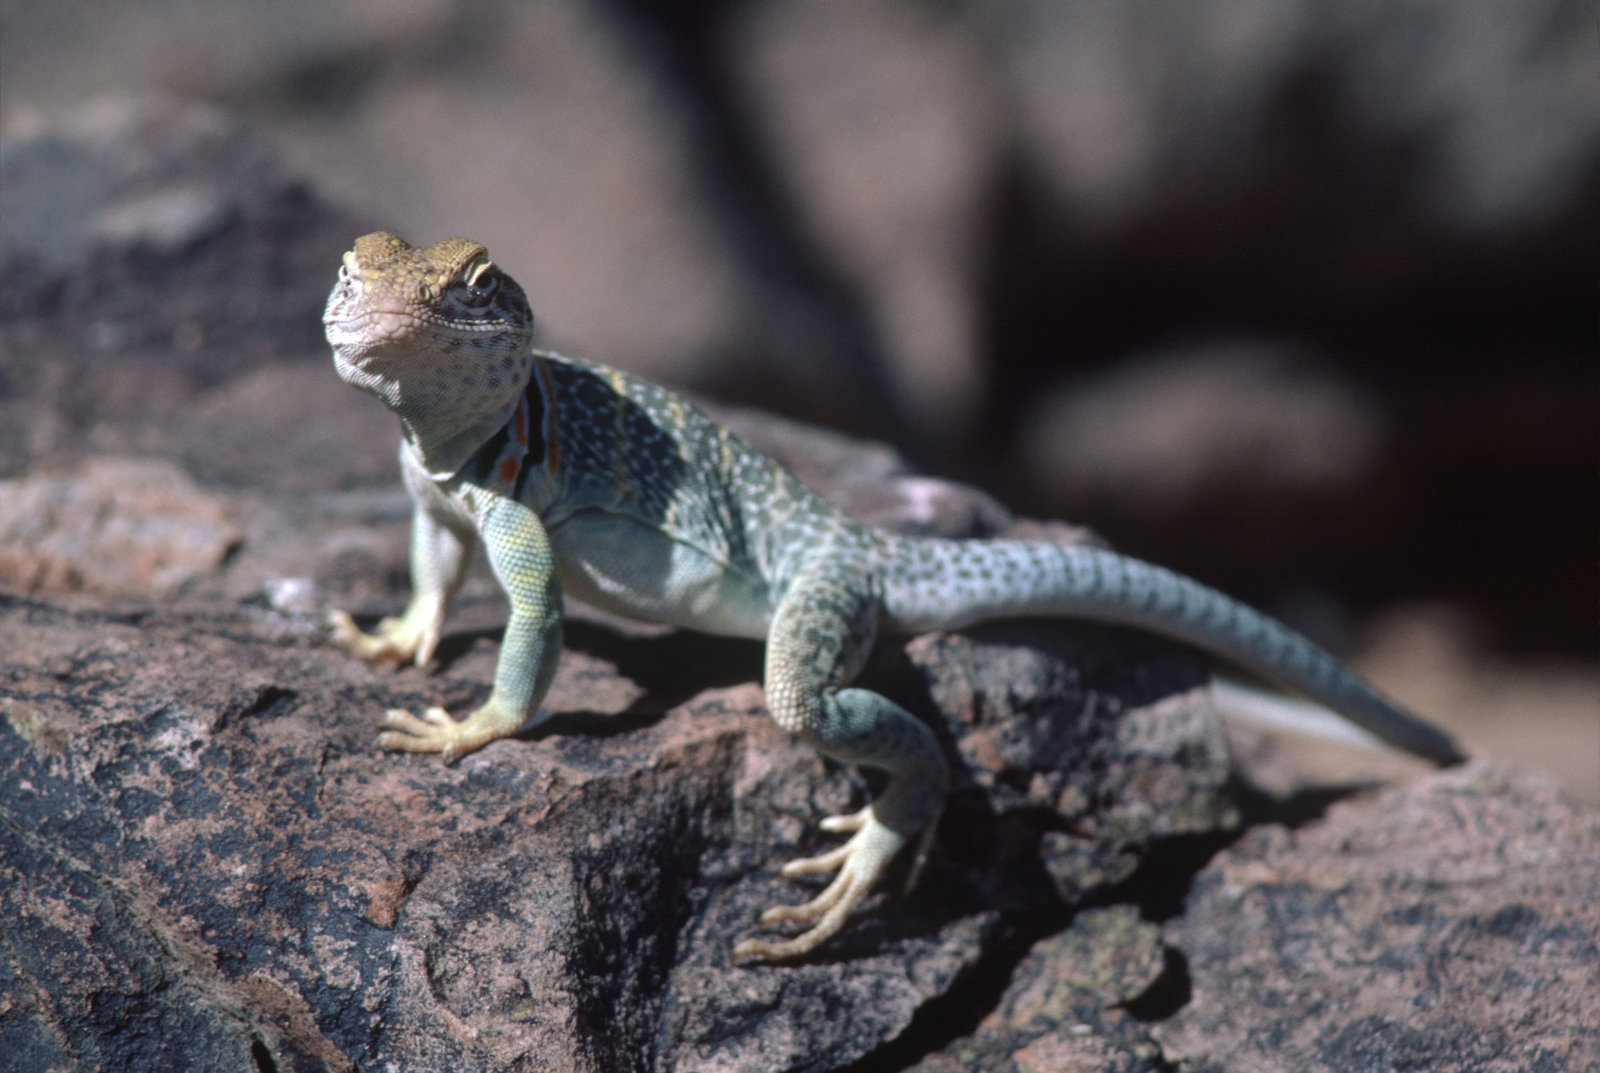
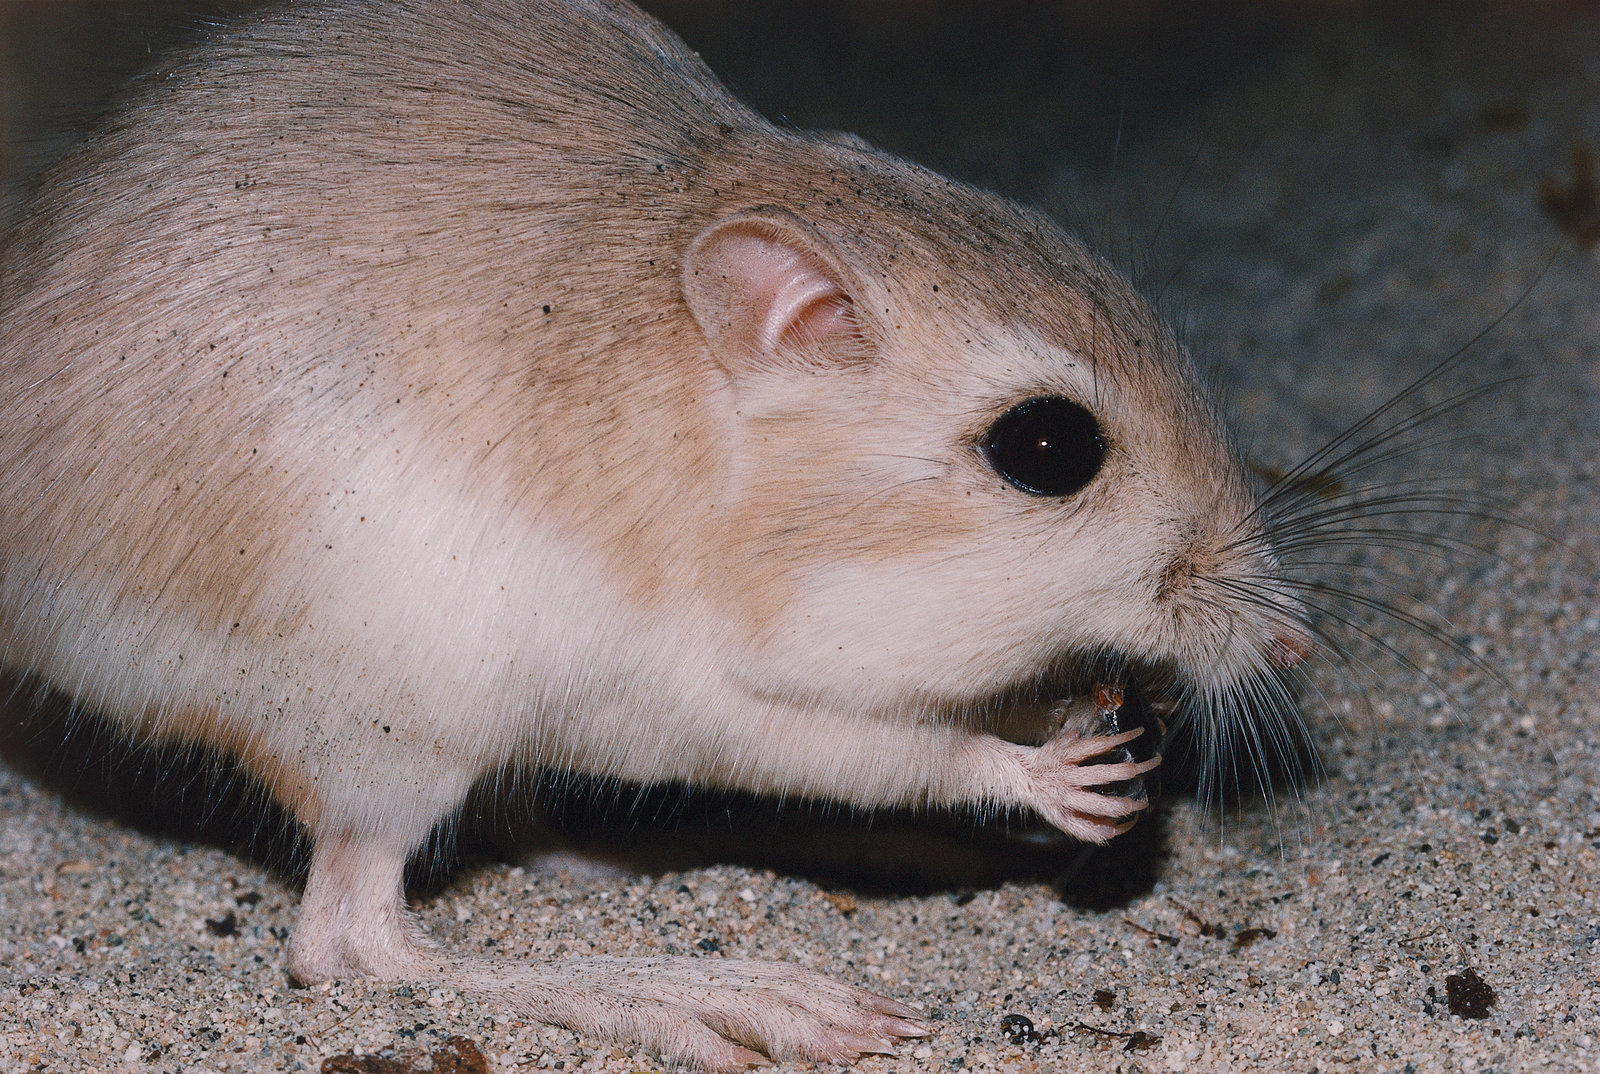
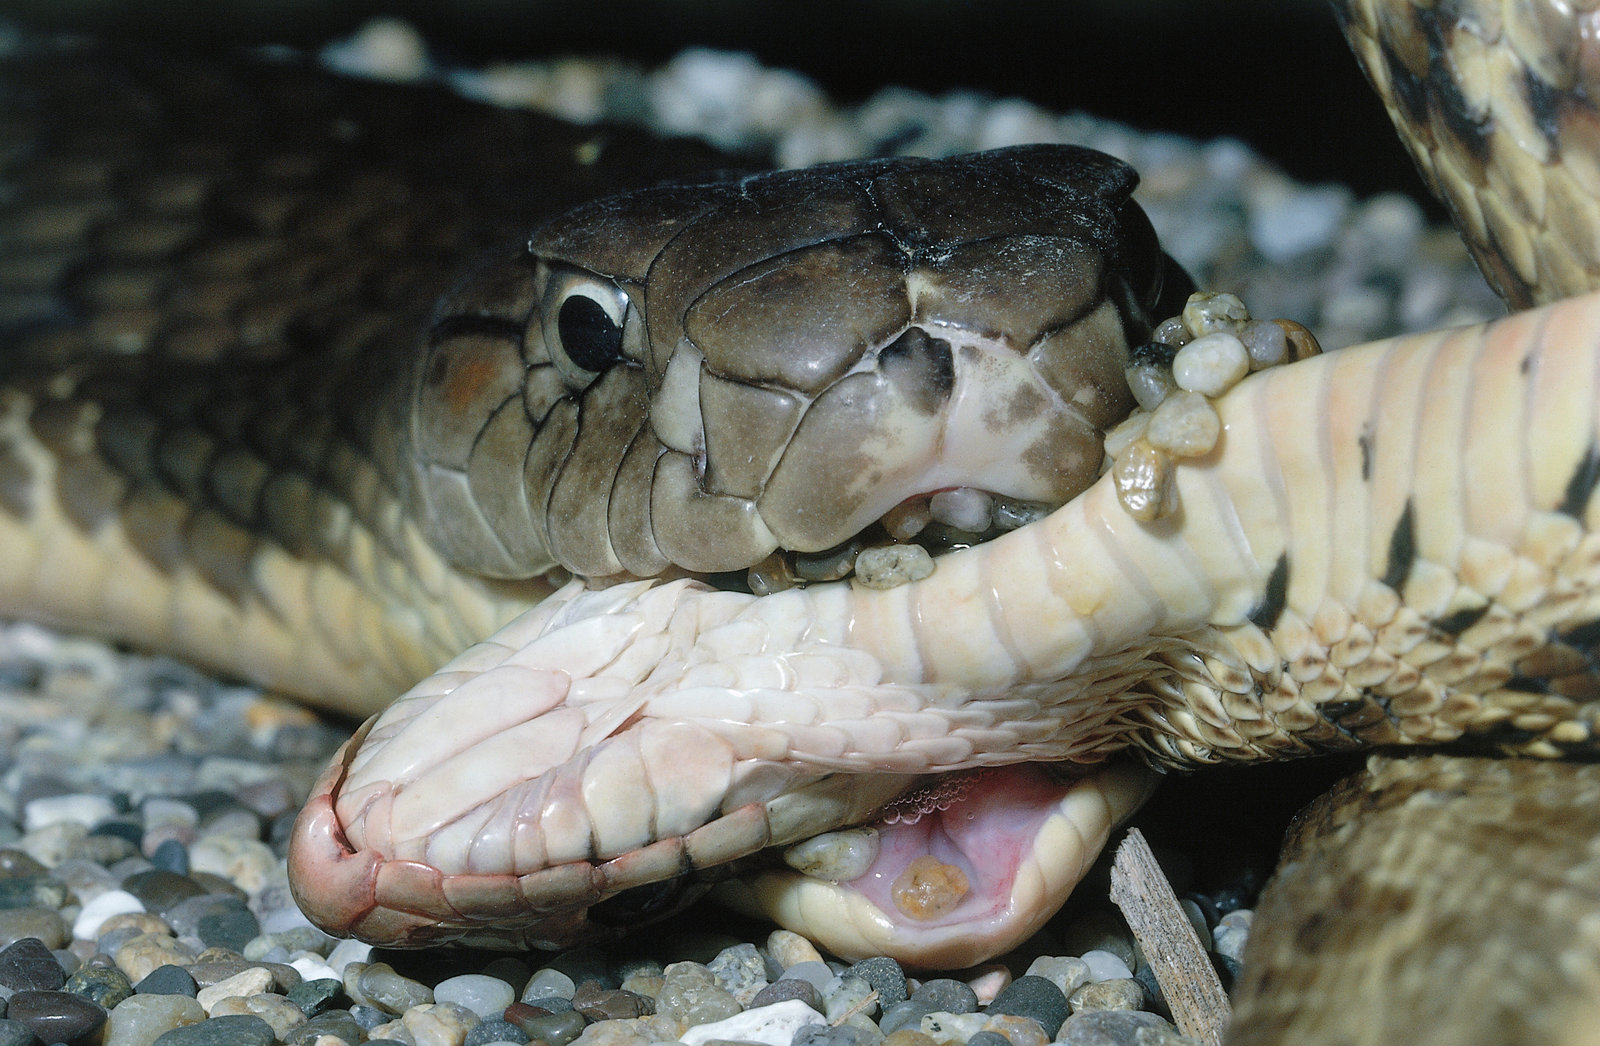
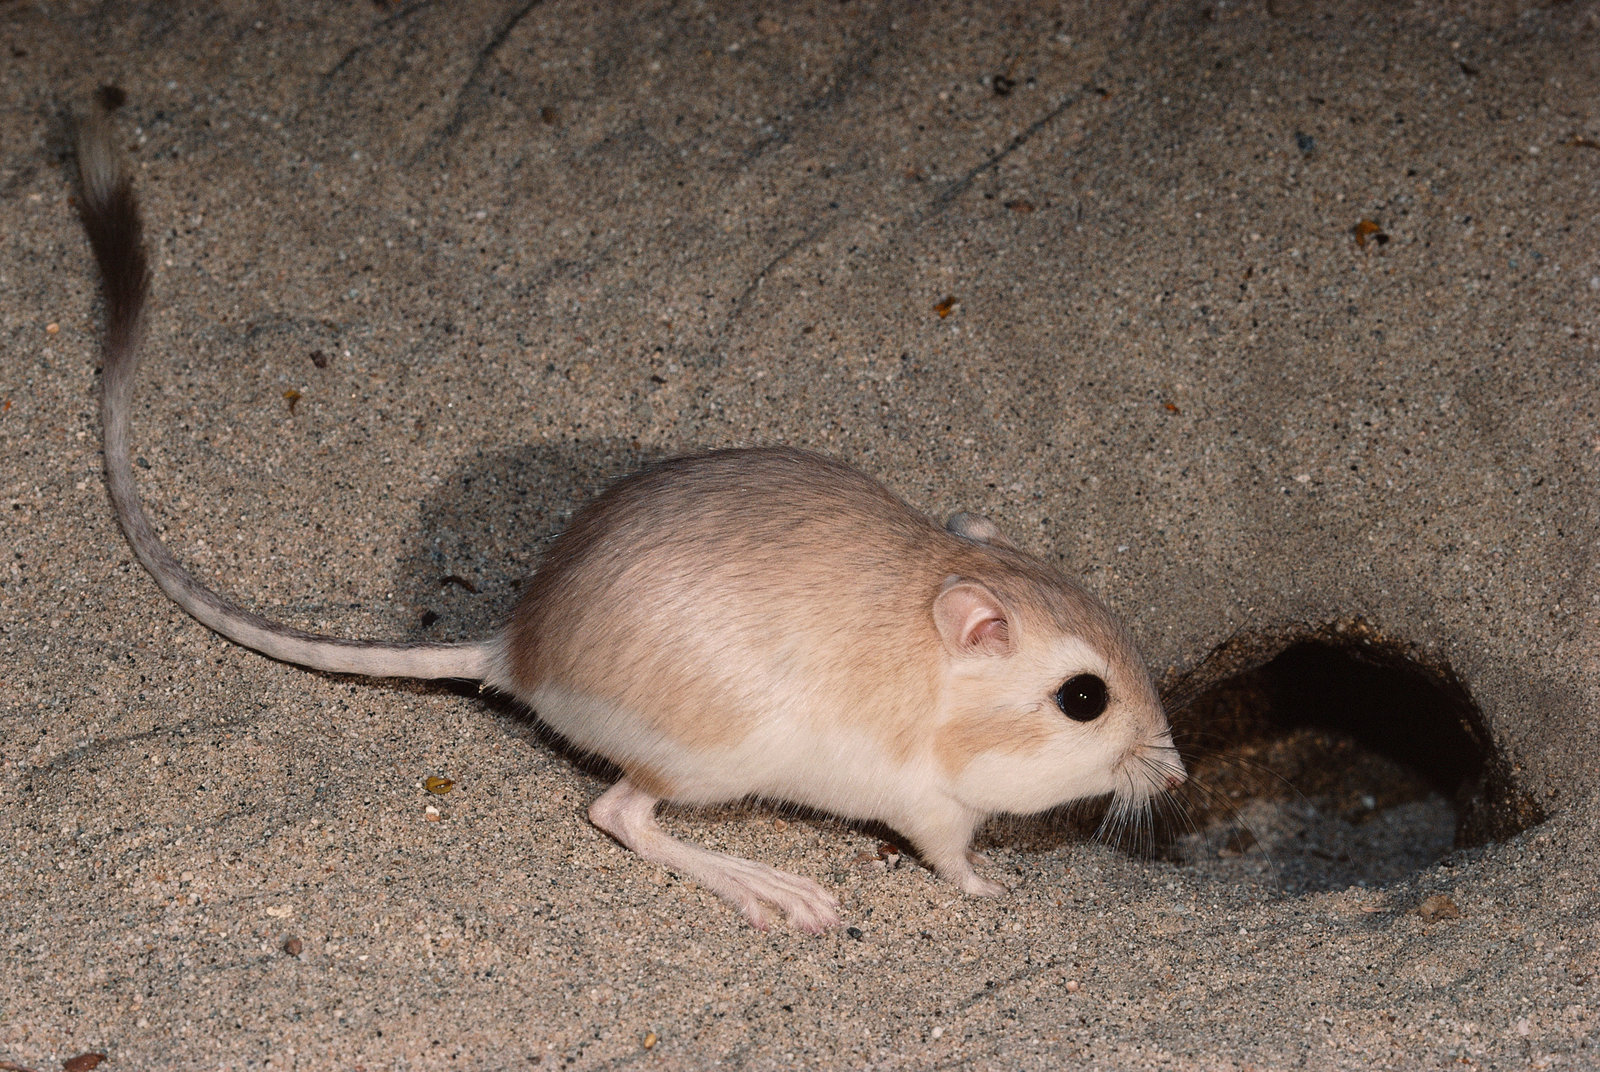
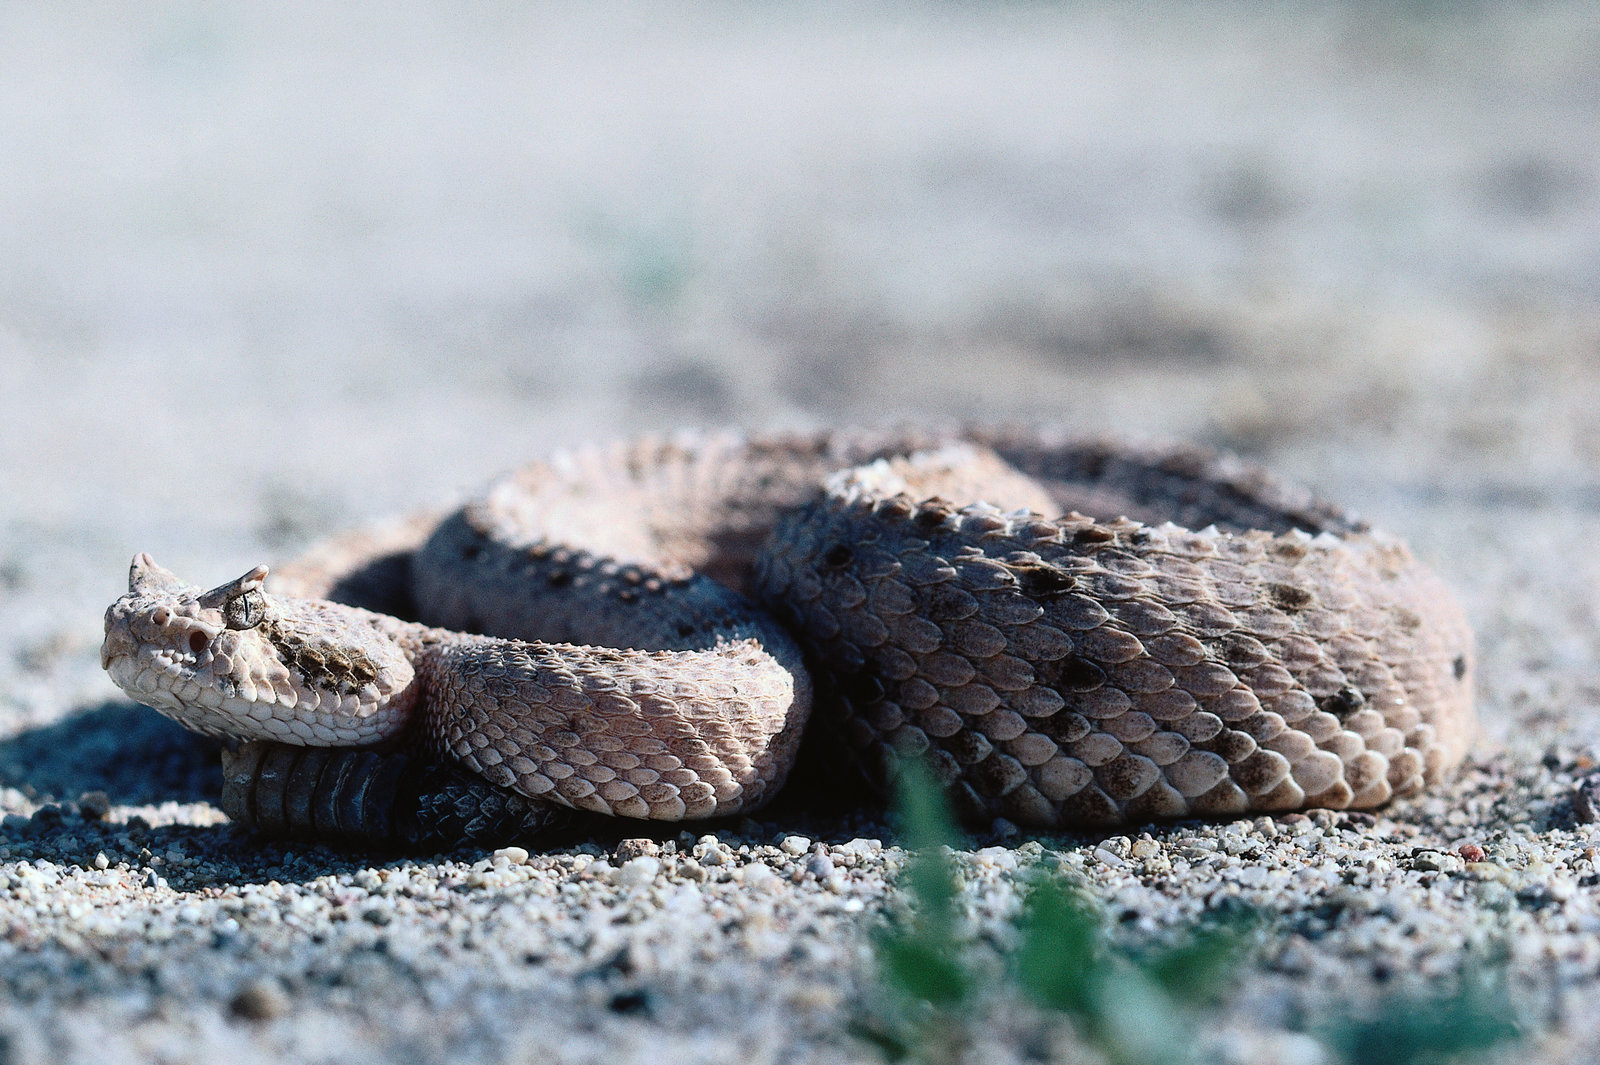
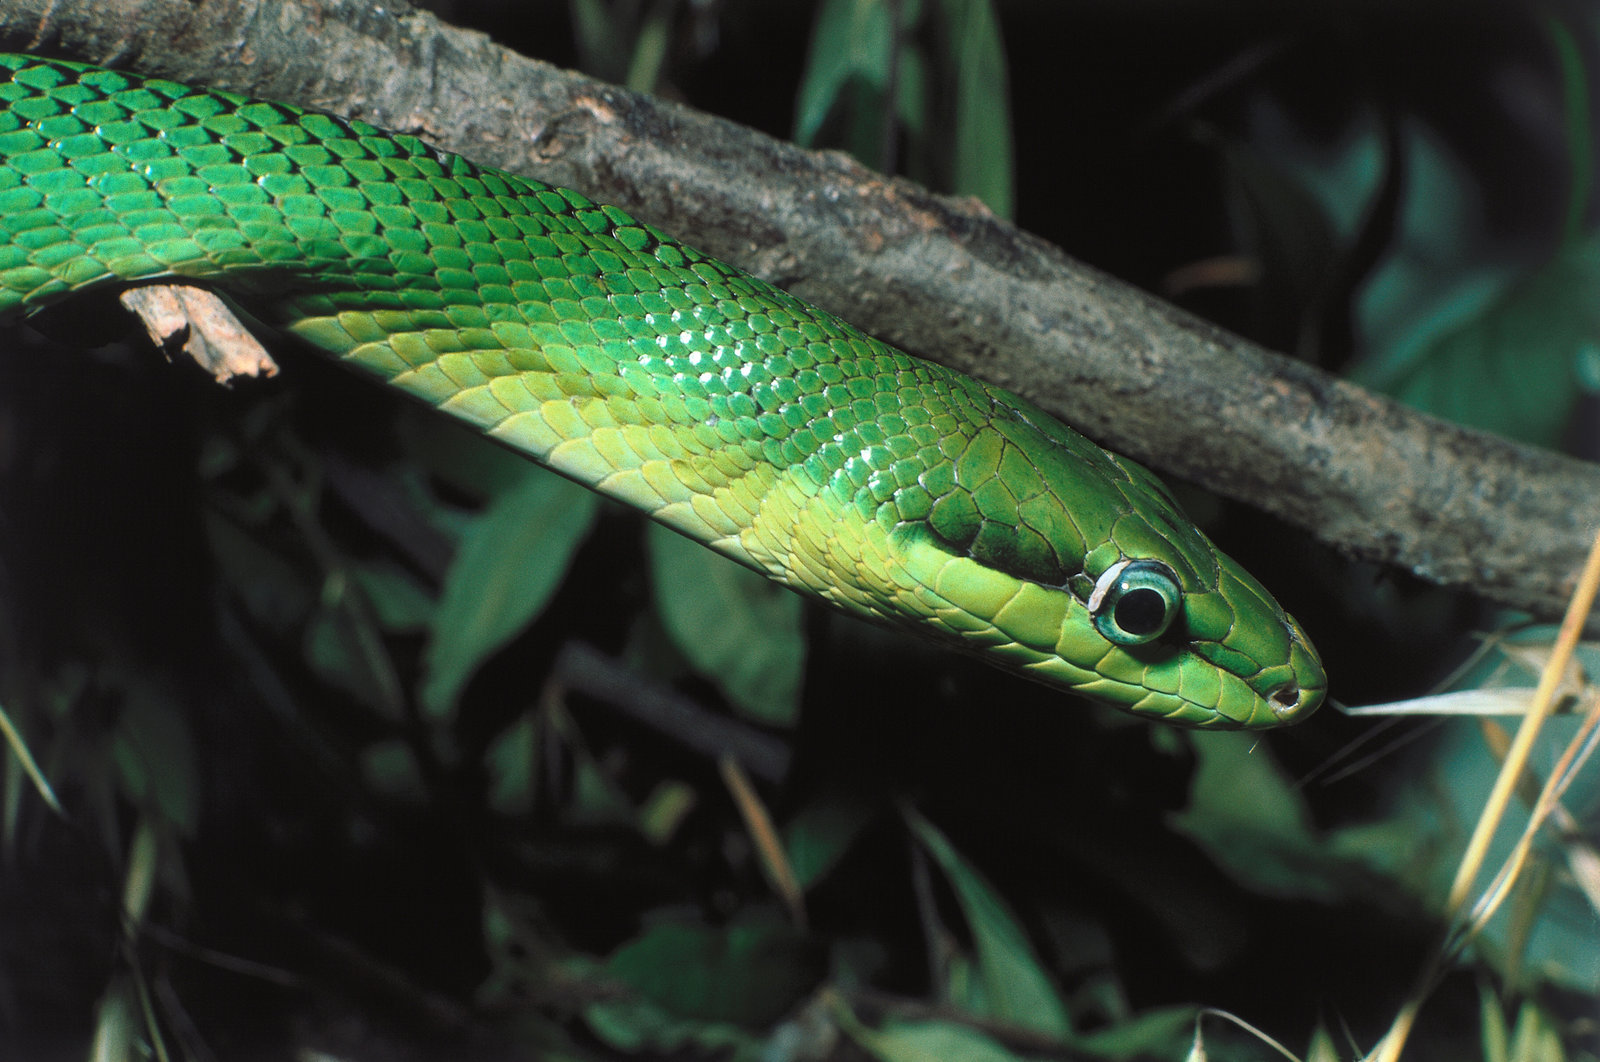
 Folge 2Bild: © Wolfgang Bayer / Discovery Communications, LLC
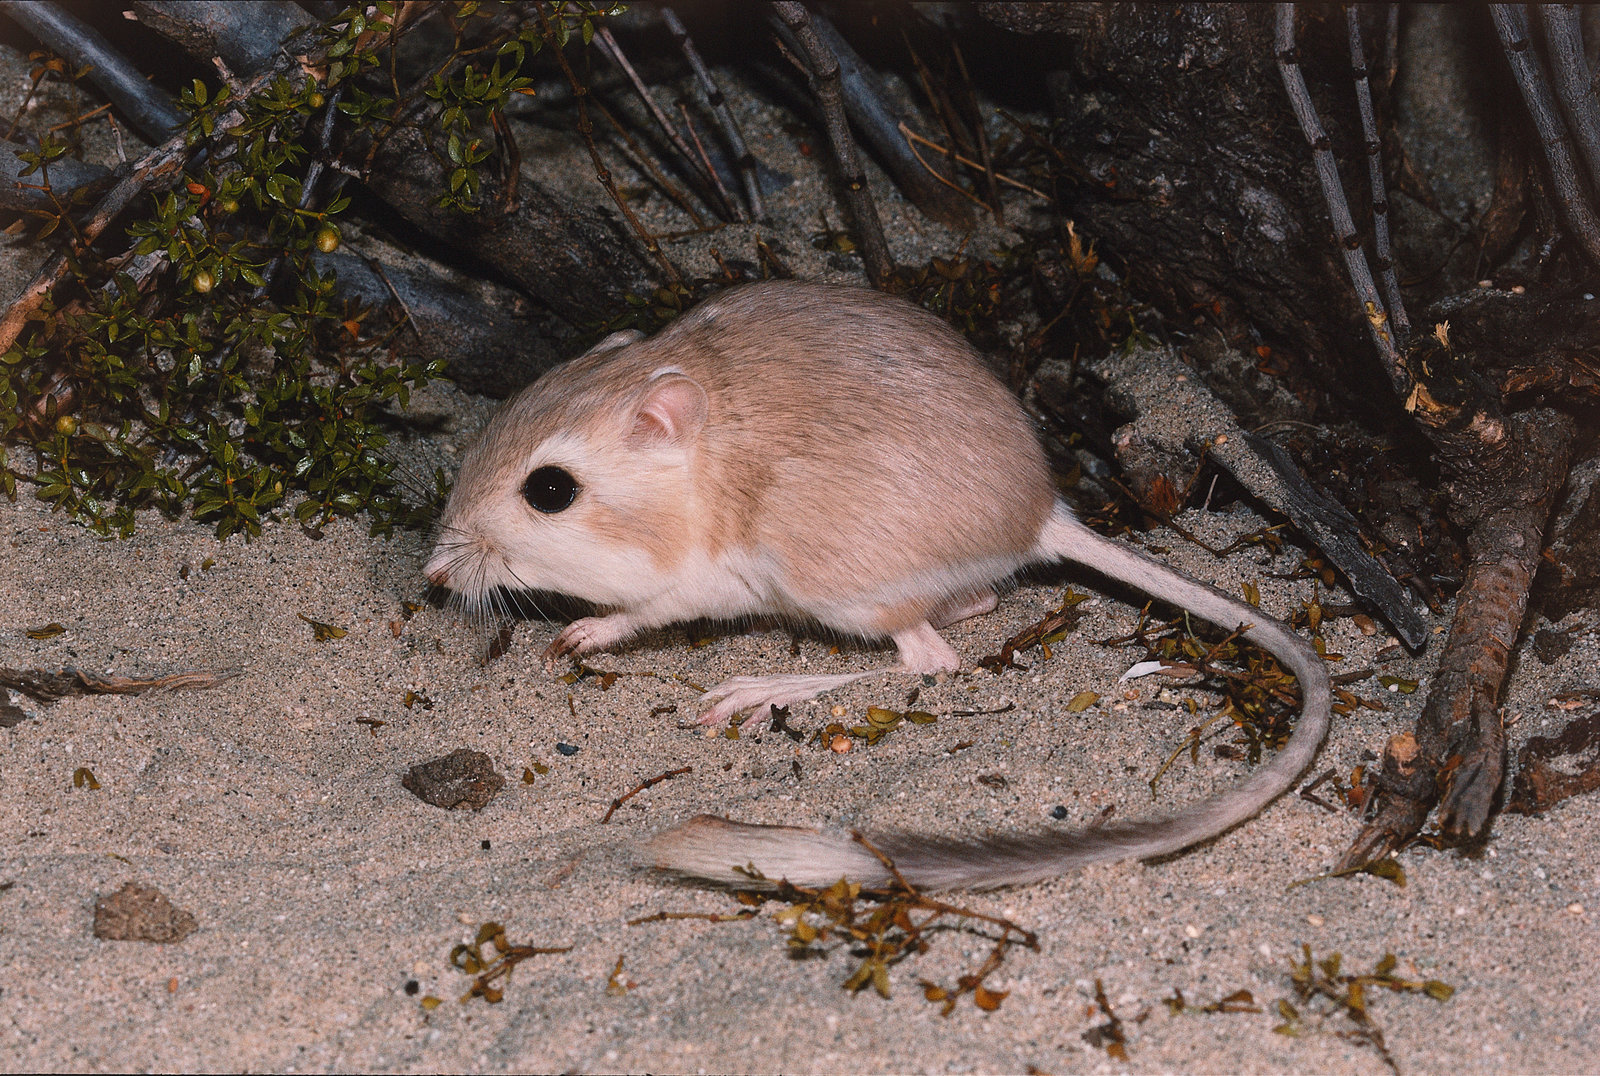
- Folge 2Bild: © Wolfgang Bayer / Discovery Communications, LLC
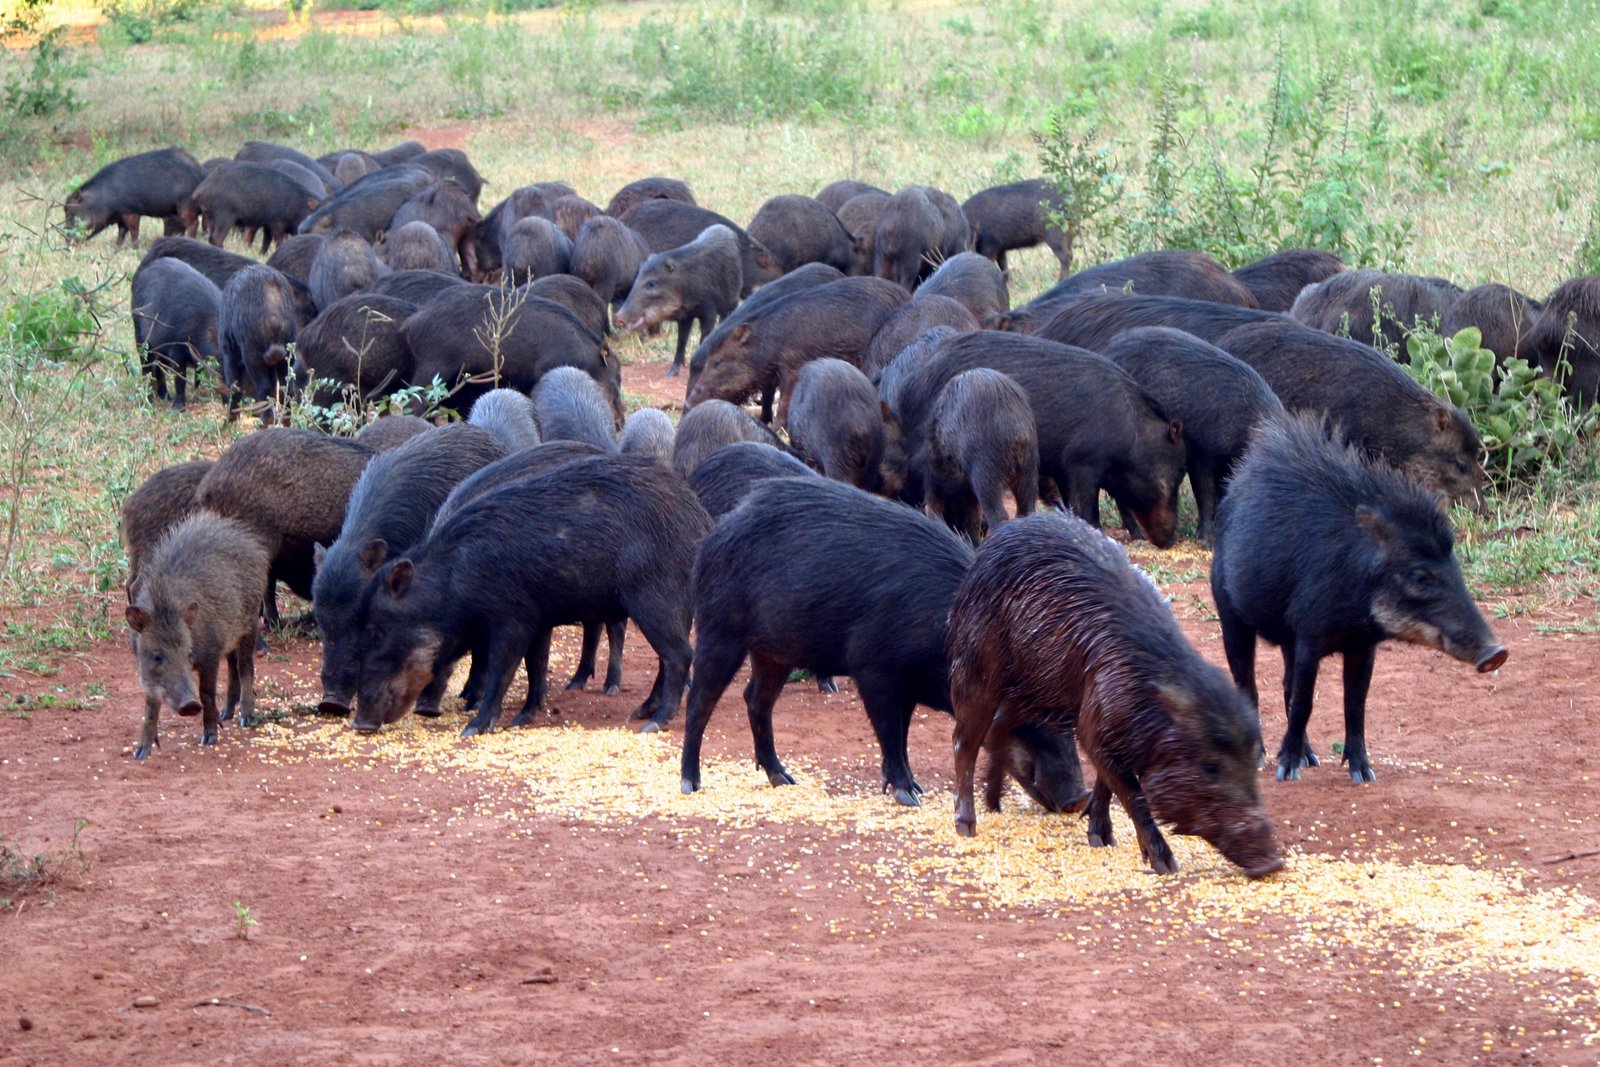
- Folge 2Bild: © Wolfgang Bayer / Discovery Communications, LLC
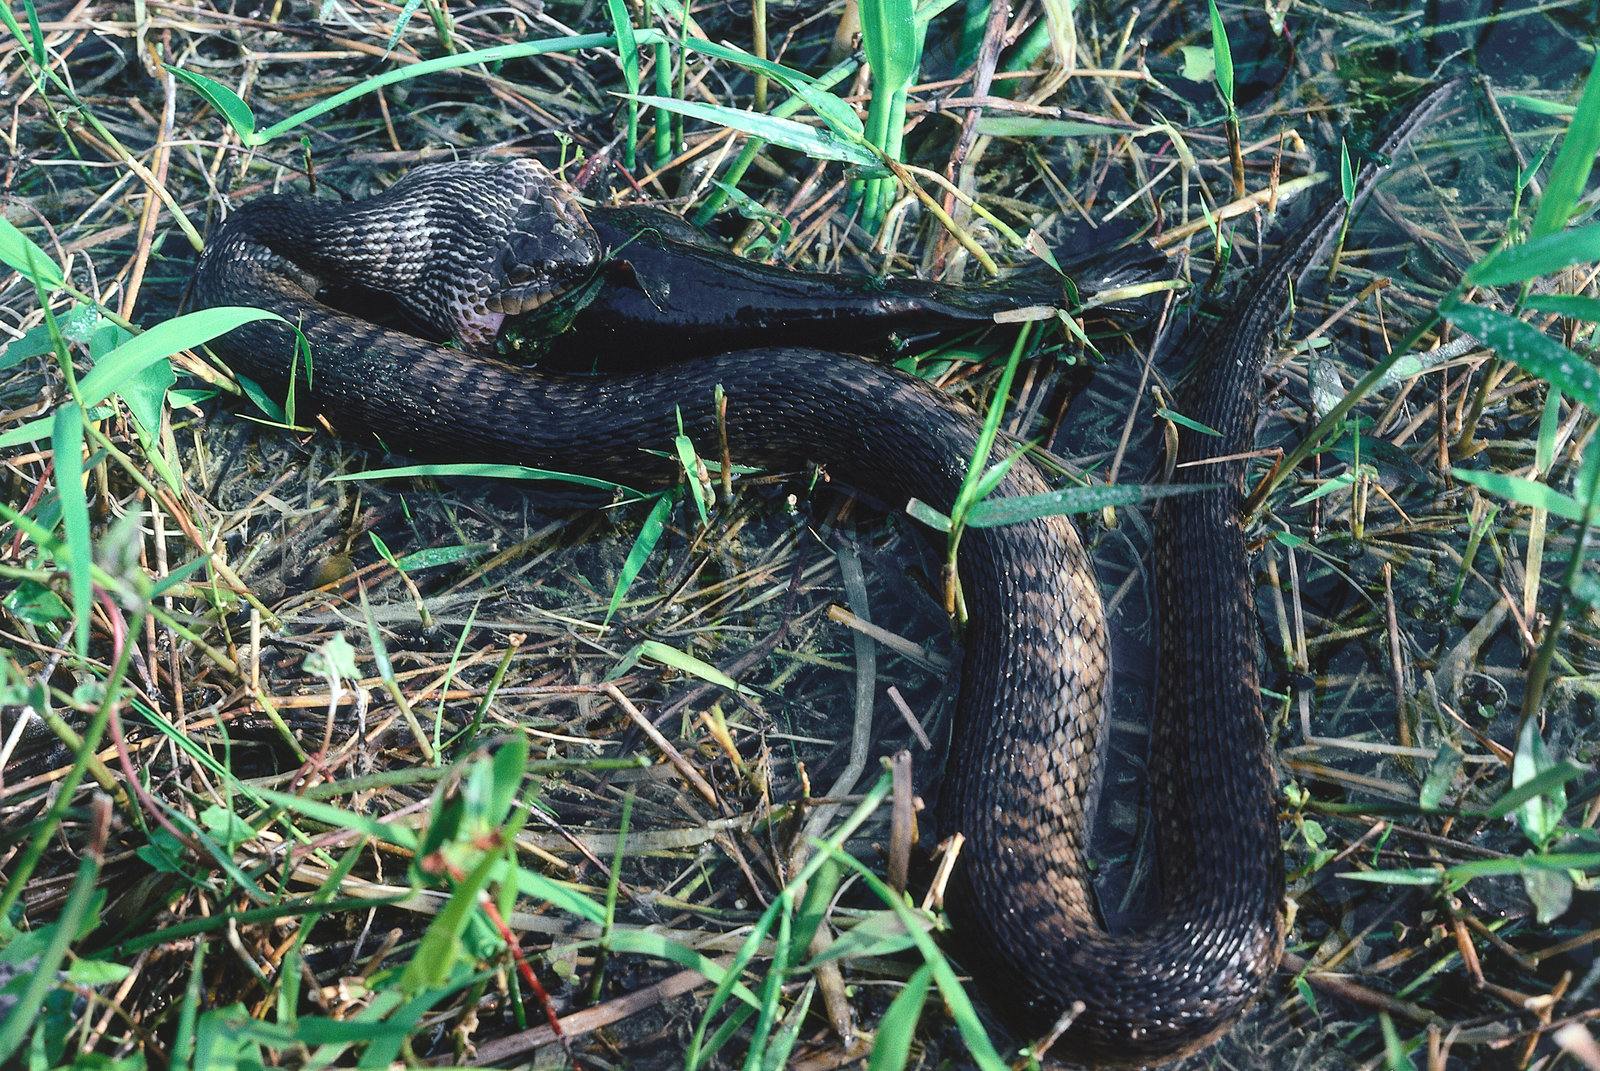
- Folge 2Bild: © Wolfgang Bayer / Discovery Communications, LLC
- Folge 2Bild: © Wolfgang Bayer / Discovery Communications, LLC
- Folge 2Bild: © Wolfgang Bayer / Discovery Communications, LLC
- Folge 2Bild: © Wolfgang Bayer / Discovery Communications, LLC
- Folge 2Bild: © Wolfgang Bayer / Discovery Communications, LLC
- Folge 2Bild: © Wolfgang Bayer / Discovery Communications, LLC
- Folge 2Bild: © Wolfgang Bayer / Discovery Communications, LLC
- Folge 2Bild: © Wolfgang Bayer / Discovery Communications, LLC
- Folge 1Bild: © Copyright: Discovery Communications, Inc. For Show Promotion Only
- Folge 2Bild: © Wolfgang Bayer / Discovery Communications, LLC
Meistgelesene TV-News
- "Die Giovanni Zarrella Show": Alle Gäste der großen Sommerparty am 29. August 2026
- "Der Doktor und das liebe Vieh": Erster Blick auf Staffel 7 kündigt neuen Tierarzt an
- Disney+- und Hulu-Highlights im September: Neues "Death in Paradise"-Spin-off, "City of Blood" und endlich "Empire"-Finale
- "ZDF-Fernsehgarten": Diese Gäste feiern am 30. August 2026 die große Schlagerparty
- "Navy CIS": Deshalb kehrt Tony DiNozzo in der 24. Staffel zurück
Neueste Meldungen
Die Vorschau
Mario, der Eismann präsentiert die wichtigsten Serienstarts der Woche:![]()