
Folge 6
Bild: © The History Channel
Folge 8
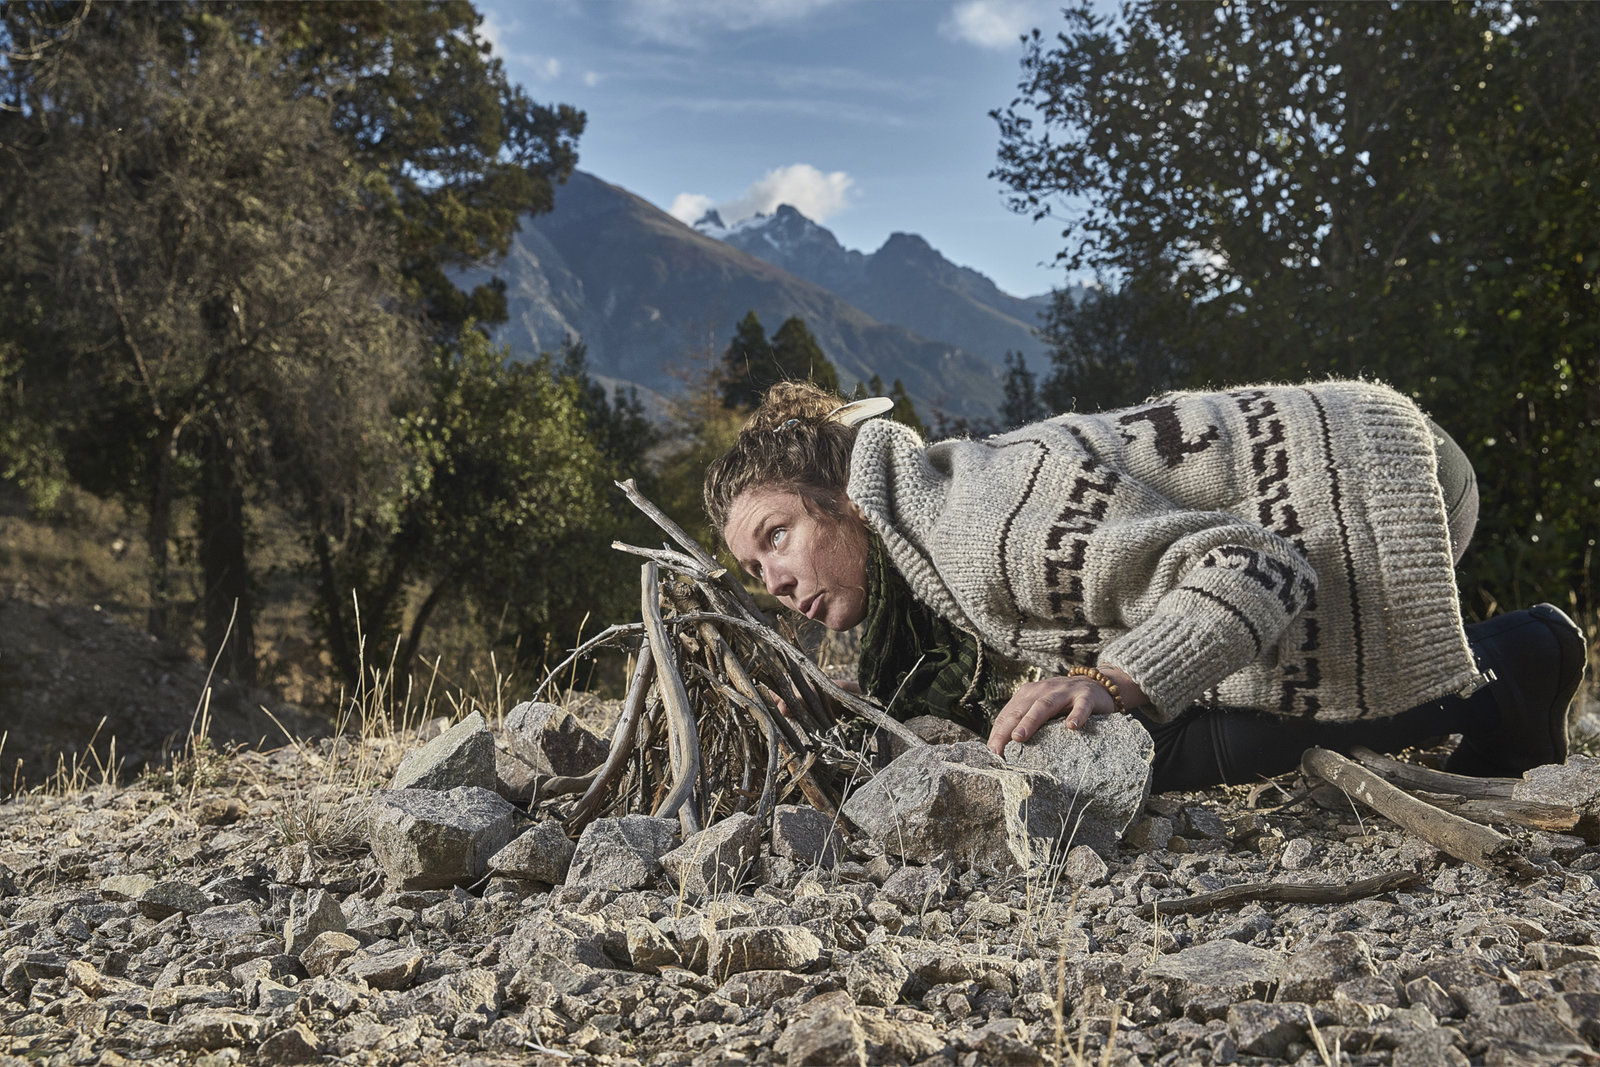
Callie Nort
Bild: © HISTORY Photocredit Mandatory, Editorial Use Only, No Archive, No Resale
Folge 10
Bild: © HISTORY Photocredit Mandatory, Editorial Use Only, No Archive, No Resale
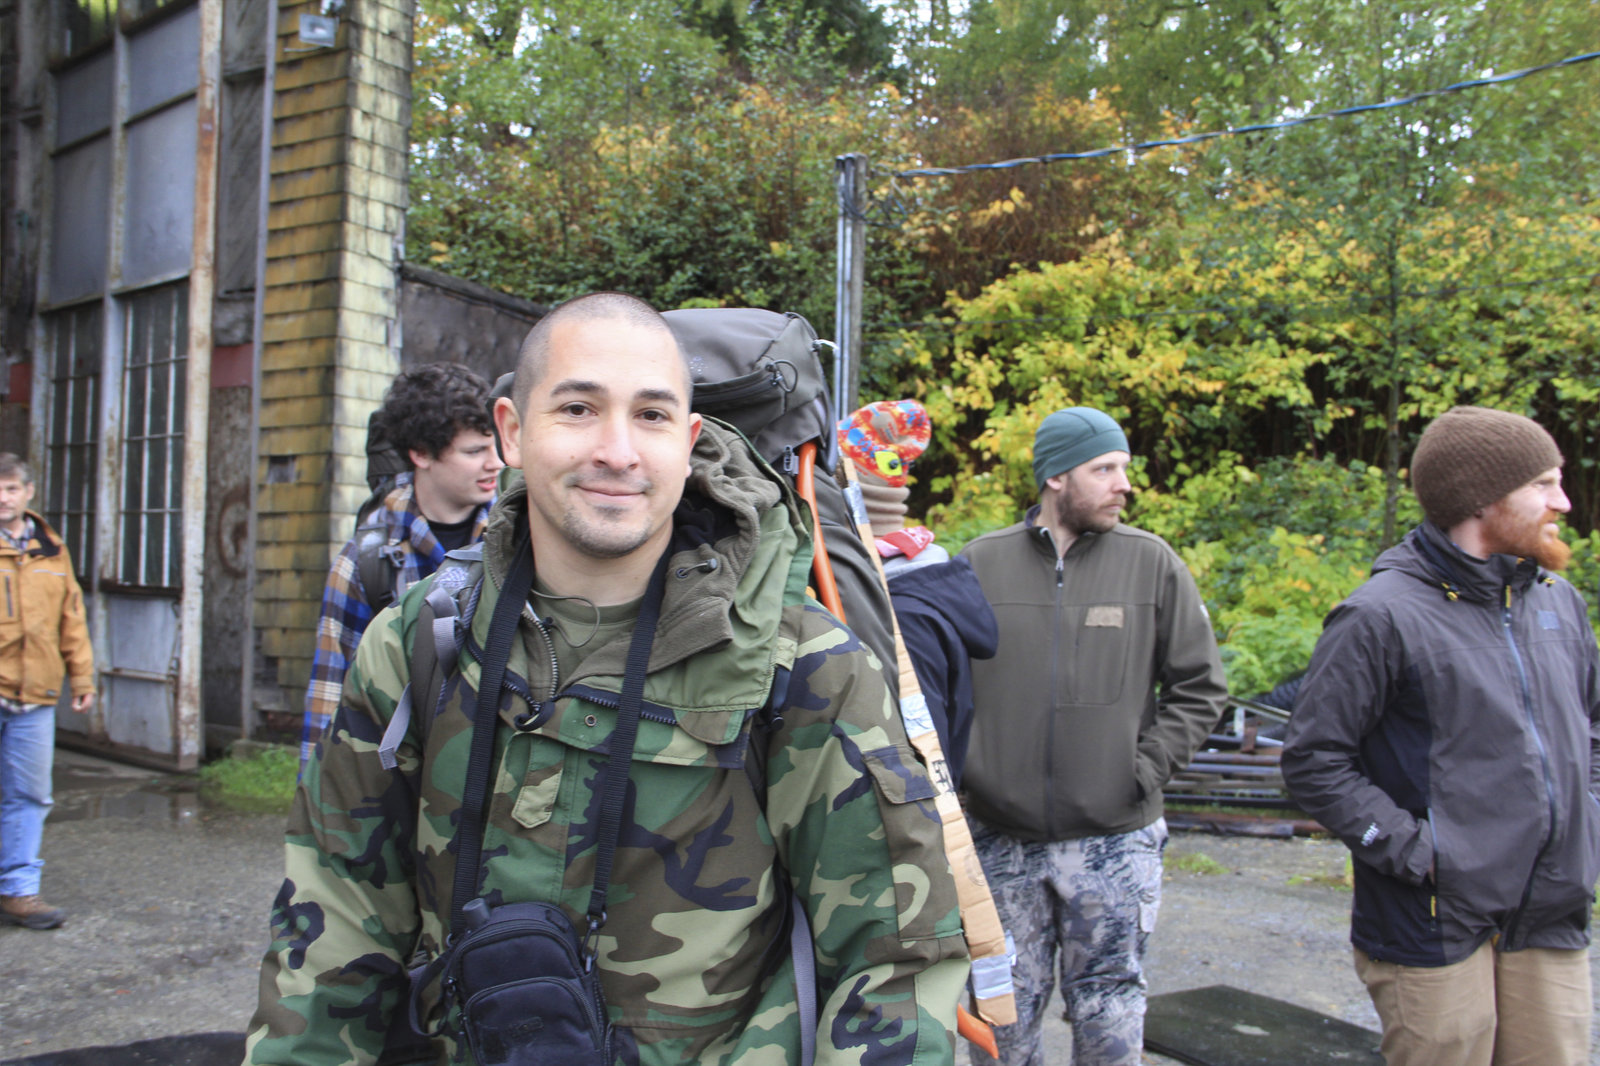
Folge 4
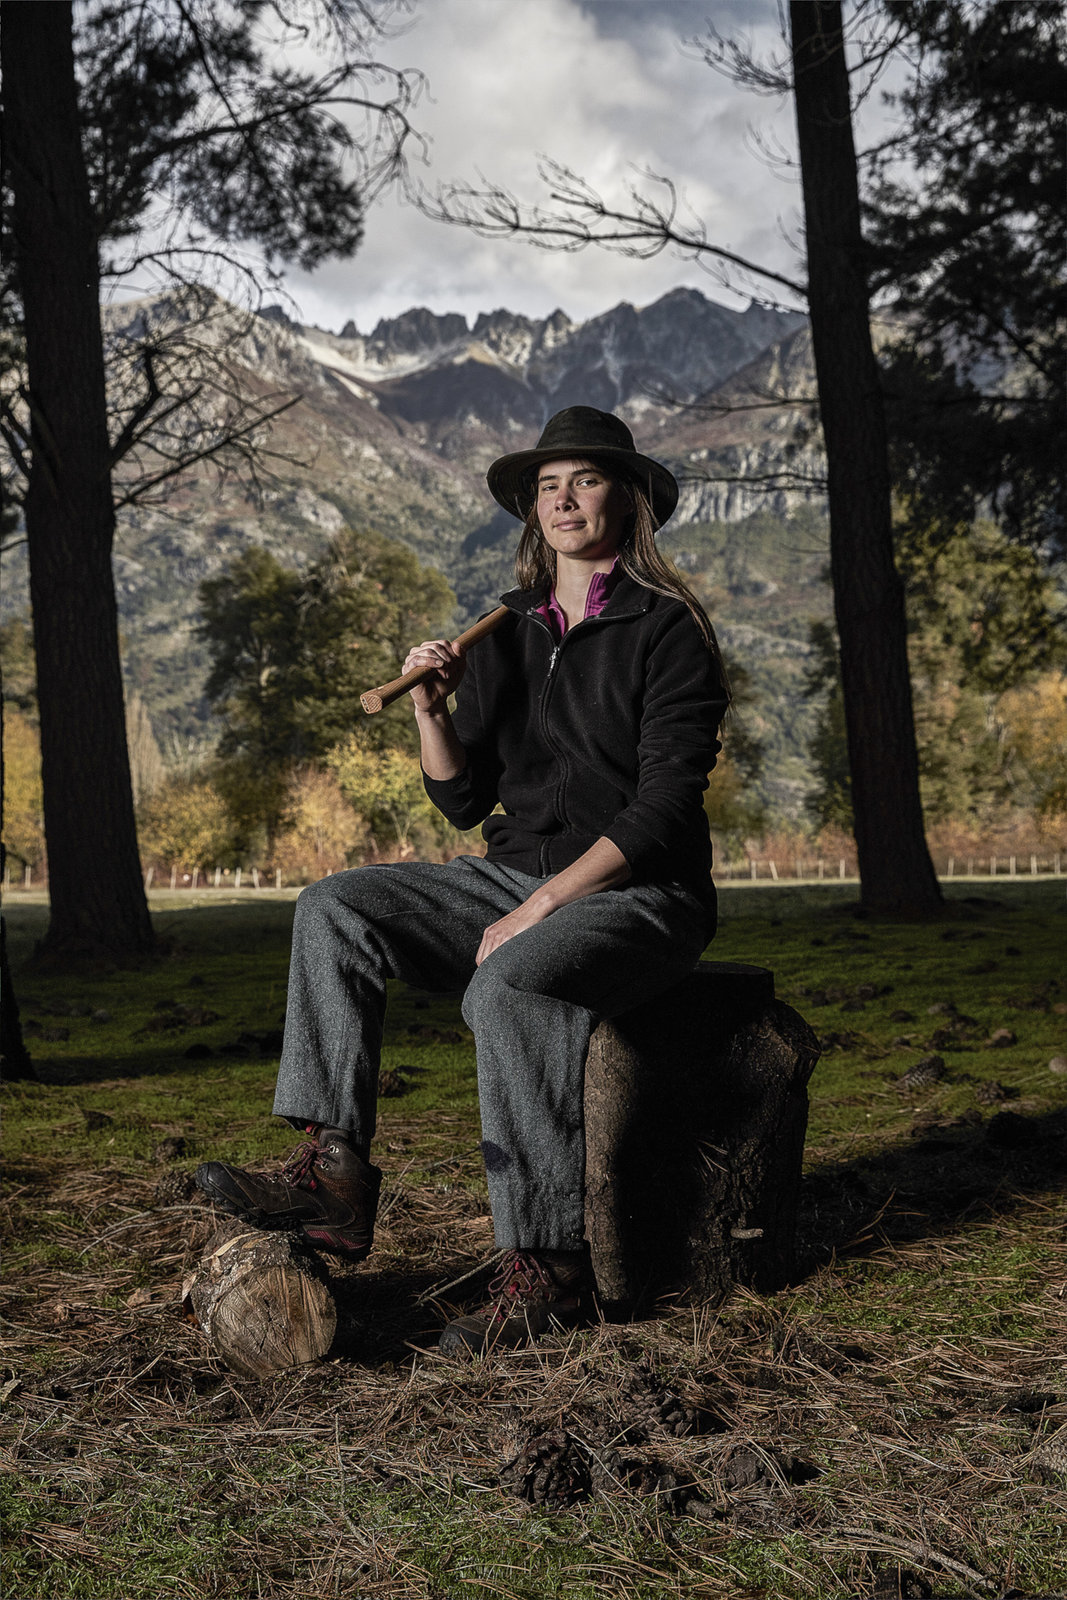
Lagan Ribar
Bild: © History
Folge 3
Bild: © HISTORY Photocredit Mandatory, Editorial Use Only, No Archive, No Resale
Folge 3
Bild: © HISTORY Photocredit Mandatory, Editorial Use Only, No Archive, No Resale
Making The Cut: Season 4
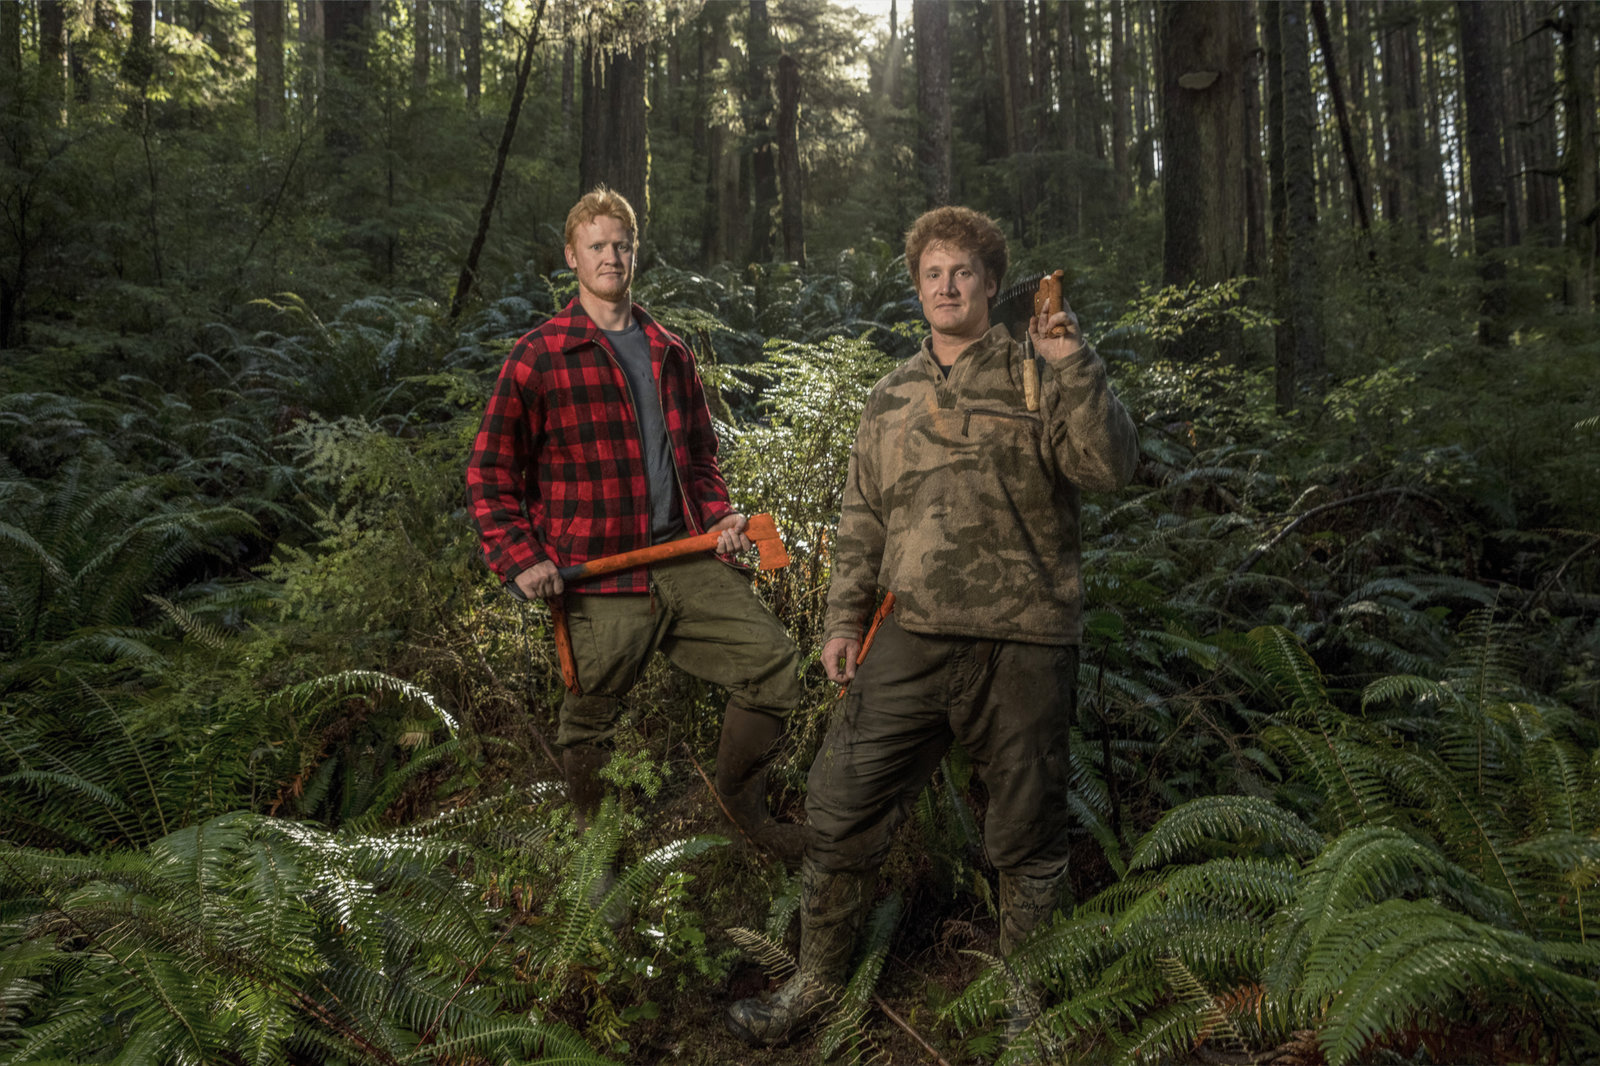
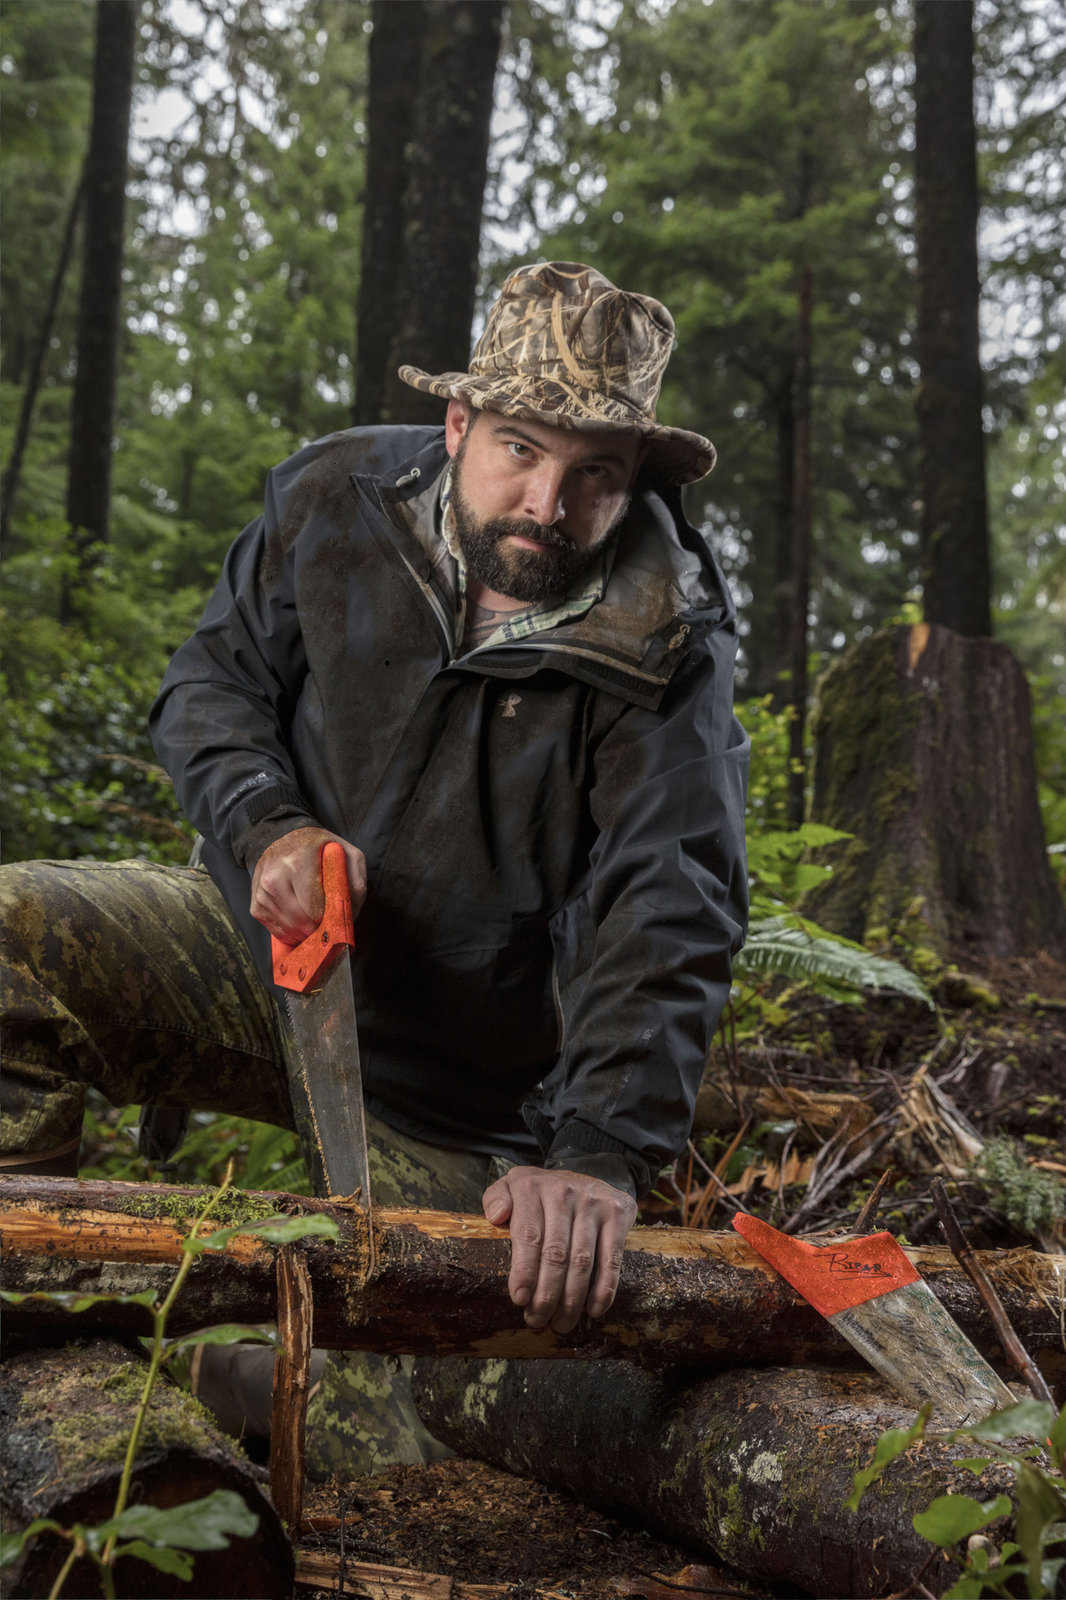
Alex Ribar (r), Logan Riban (l)
Bild: © A+E Netowrks (C)HISTORY Photocredit Mandatory, Editorial Use Only, No Archive, No Resale
Folge 5
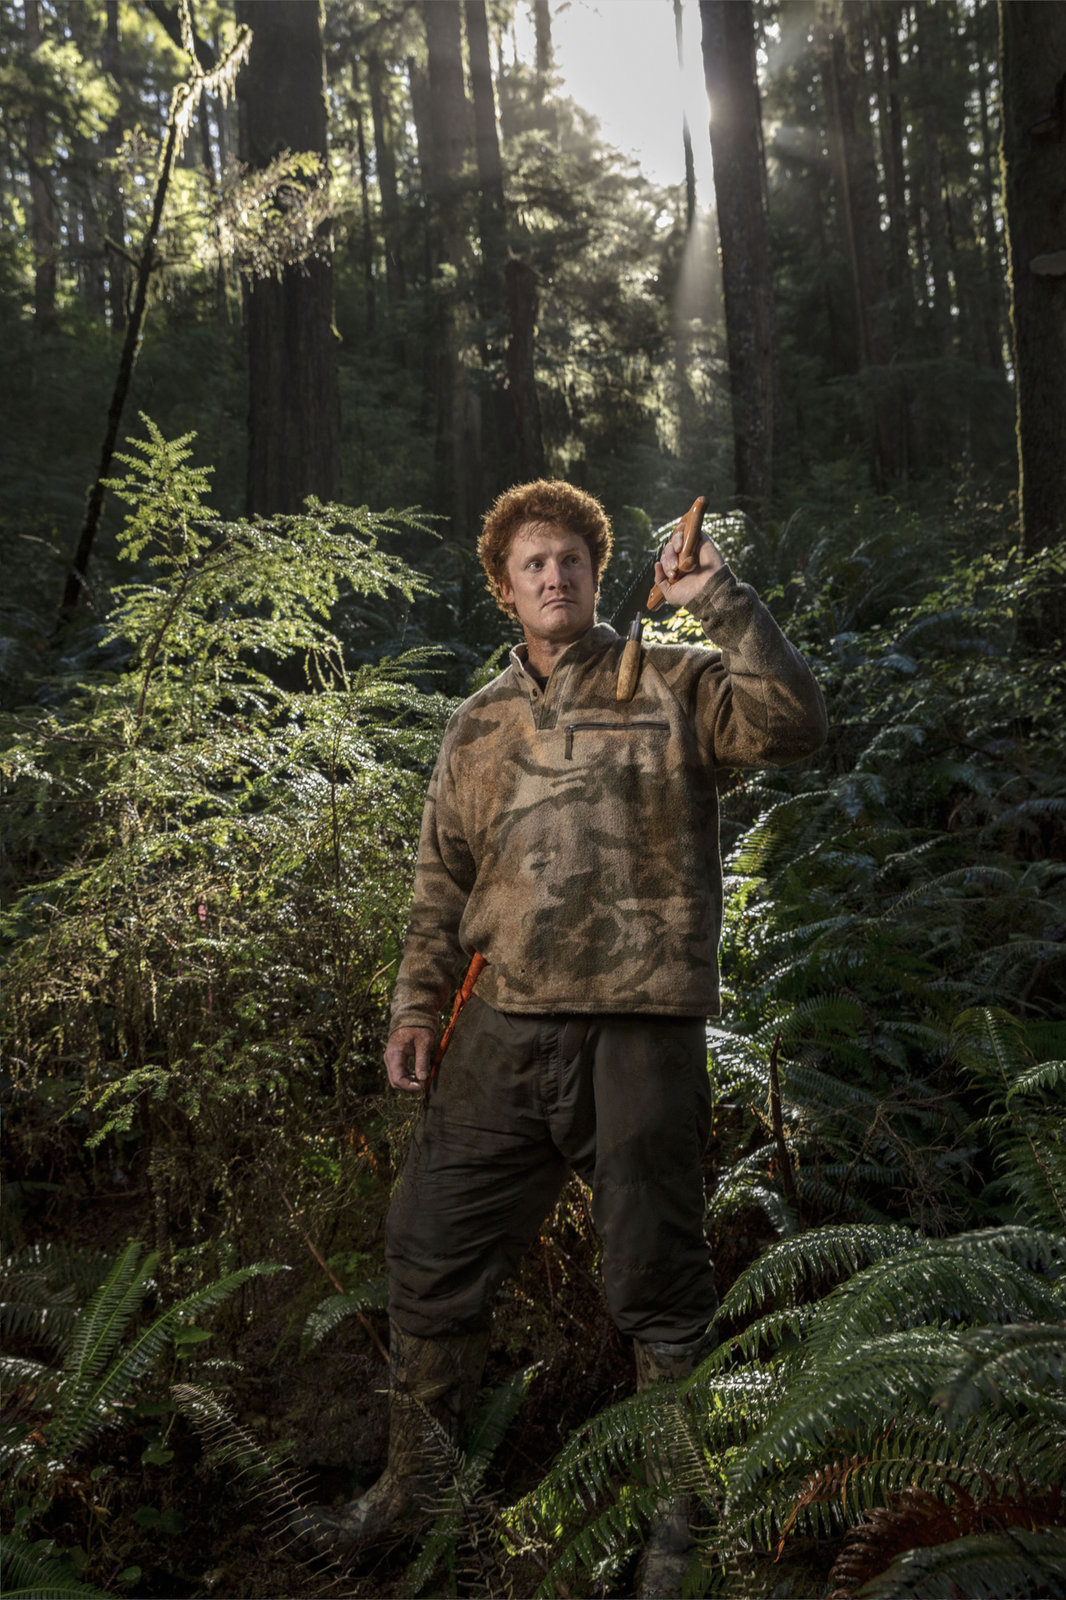
Brad Richardson
Bild: © A+E Netowrks (C)HISTORY Photocredit Mandatory, Editorial Use Only, No Archive, No Resale
Folge 9
Bild: © A+E Netowrks (C)HISTORY Photocredit Mandatory, Editorial Use Only, No Archive, No Resale
Folge 3
Bild: © HISTORY Photocredit Mandatory, Editorial Use Only, No Archive, No Resale
Folge 3
Josh Richardson
Bild: © A+E Netowrks (C)HISTORY Photocredit Mandatory, Editorial Use Only, No Archive, No Resale
Folge 11
Bild: © A+E Netowrks (C)HISTORY Photocredit Mandatory, Editorial Use Only, No Archive, No Resale
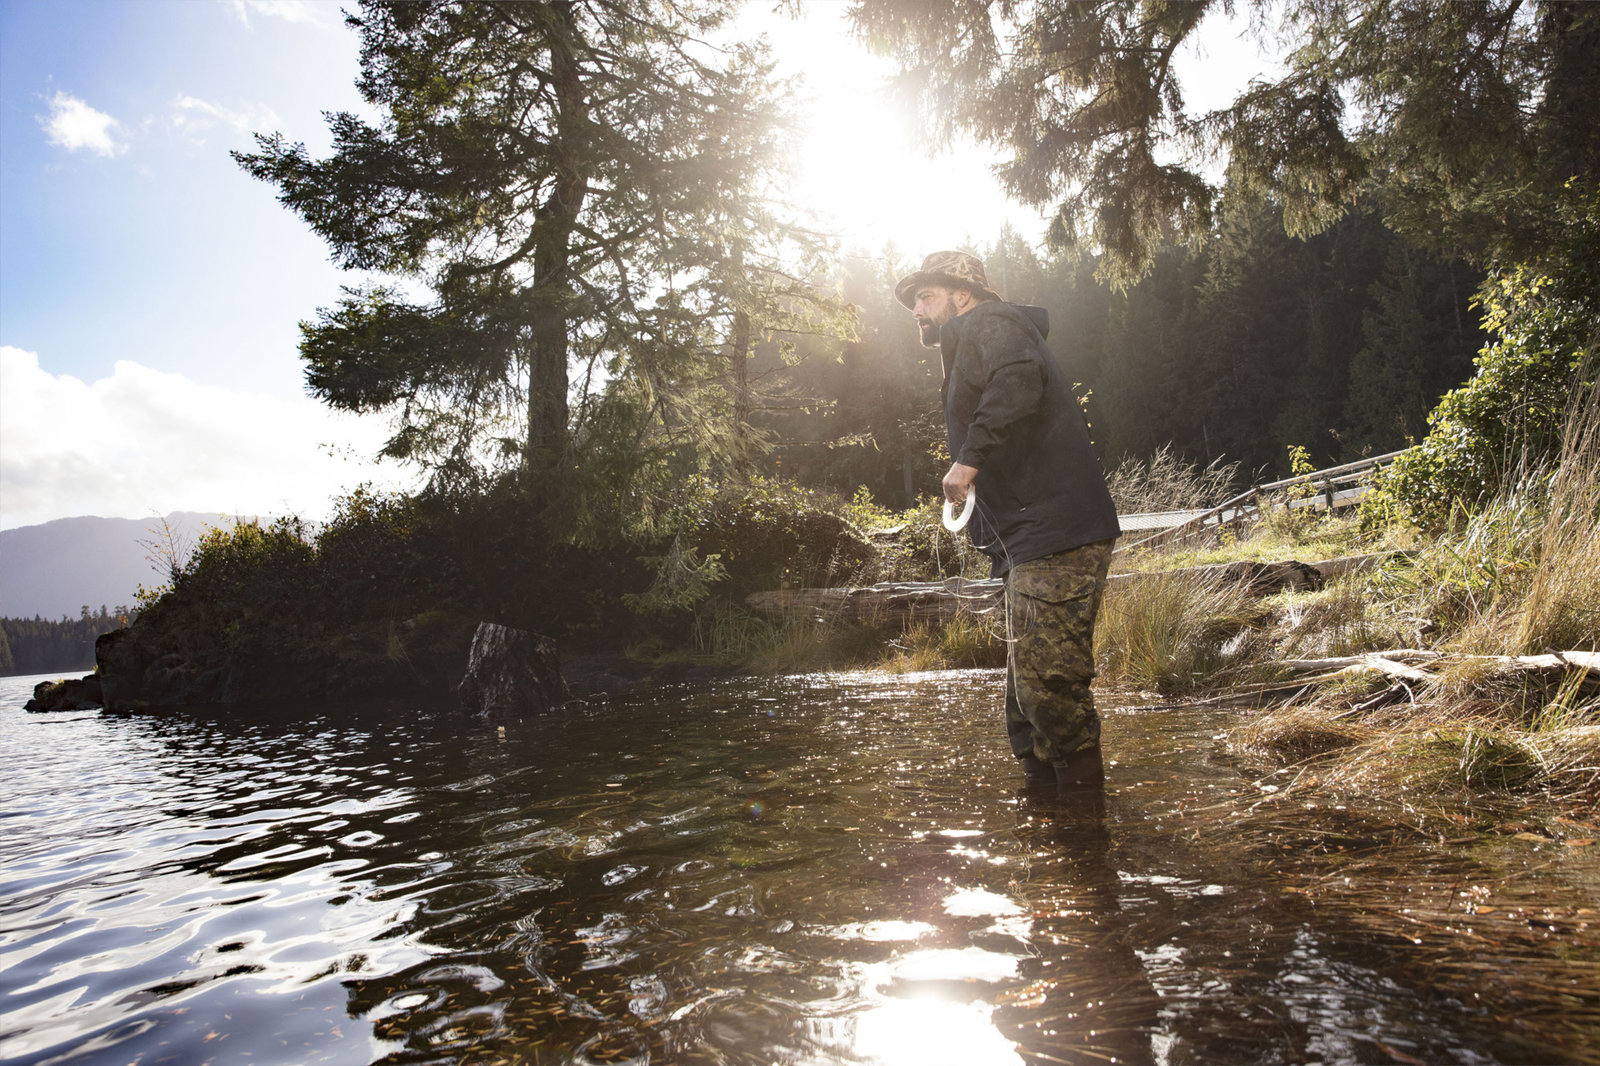
Folge 9
Zachary Fowler
Bild: © HISTORY Photocredit Mandatory, Editorial Use Only, No Archive, No Resale
Folge 7
Bild: © A+E Netowrks (C)HISTORY Photocredit Mandatory, Editorial Use Only, No Archive, No Resale
Folge 8
Zachary Gault
Bild: © HISTORY Photocredit Mandatory, Editorial Use Only, No Archive, No Resale
Folge 11
Bild: © A+E Netowrks (C)HISTORY Photocredit Mandatory, Editorial Use Only, No Archive, No Resale
Folge 8
Megan Hanacek
Bild: © HISTORY Photocredit Mandatory, Editorial Use Only, No Archive, No Resale
Folge 5
Bild: © HISTORY Photocredit Mandatory, Editorial Use Only, No Archive, No Resale
Folge 4
Britt Ahart
Bild: © HISTORY Photocredit Mandatory, Editorial Use Only, No Archive, No Resale
Folge 5
Bild: © HISTORY Photocredit Mandatory, Editorial Use Only, No Archive, No Resale
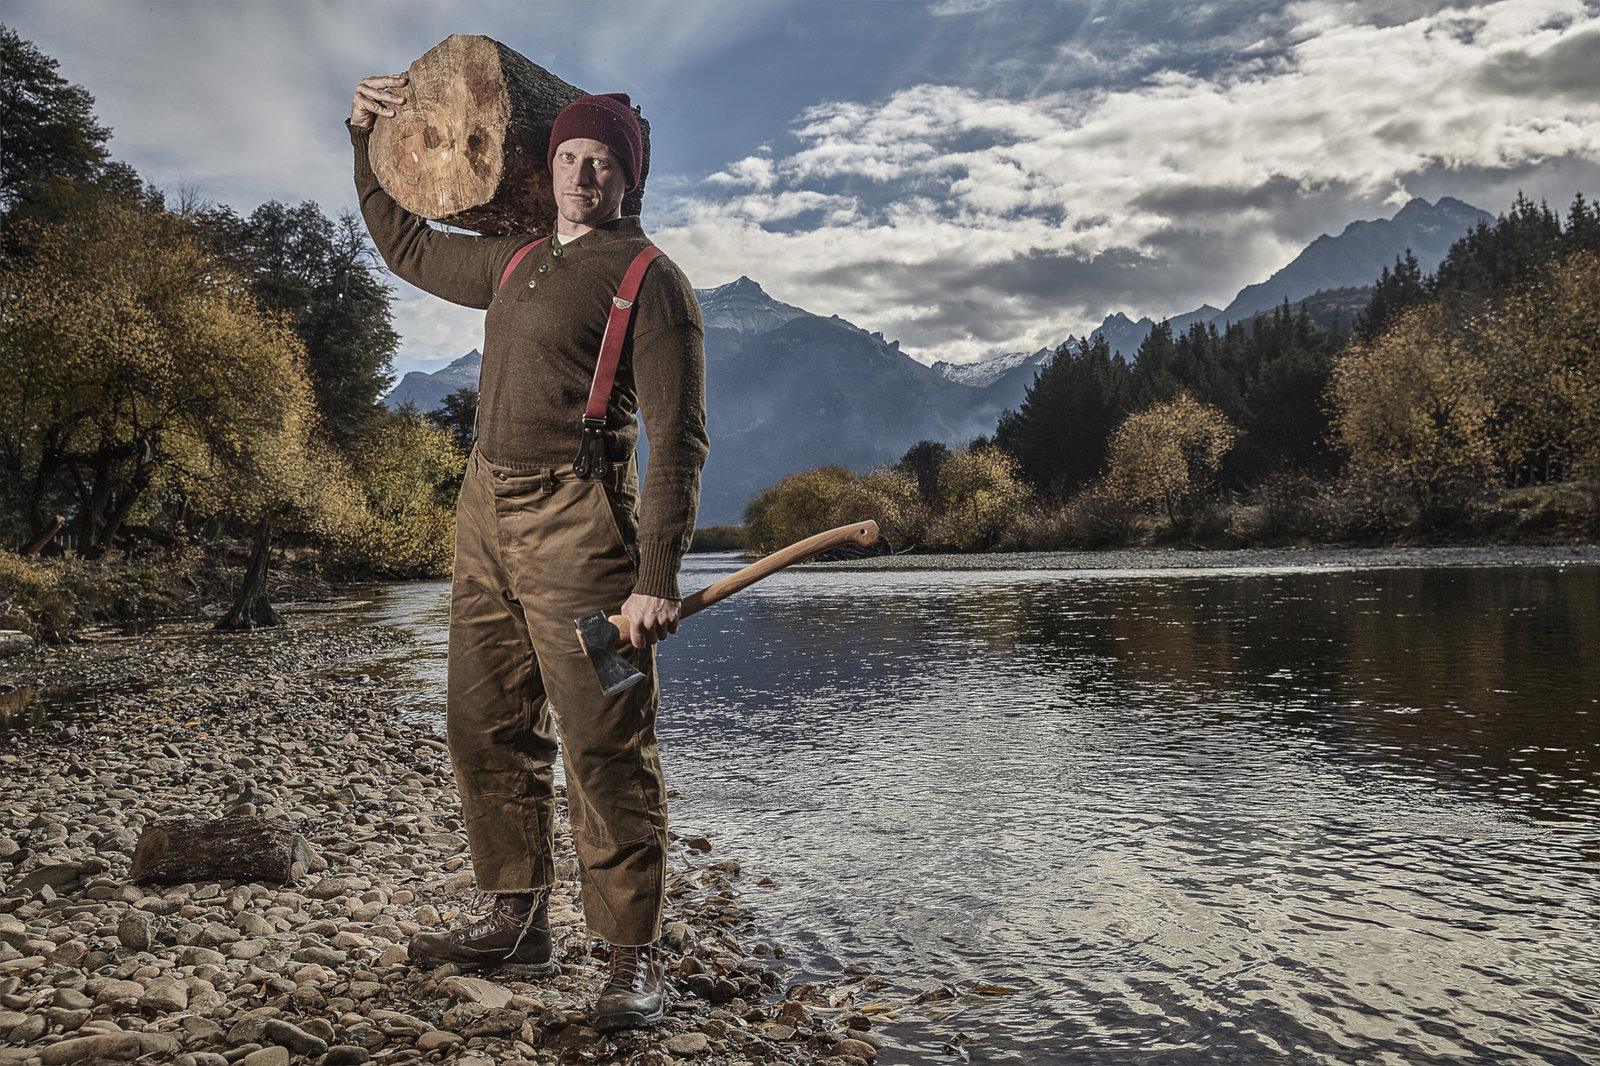
Folge 4
Dan Wowak
Bild: © HISTORY Photocredit Mandatory, Editorial Use Only, No Archive, No Resale
Folge 3
Dan Wowak
Bild: © HISTORY Photocredit Mandatory, Editorial Use Only, No Archive, No Resale
Folge 7
Bild: © HISTORY Photocredit Mandatory, Editorial Use Only, No Archive, No Resale
Folge 8
Bild: © The History Channel
Folge 6
Bild: © A+E Netowrks (C)HISTORY Photocredit Mandatory, Editorial Use Only, No Archive, No Resale
Folge 5
Bild: © HISTORY Photocredit Mandatory, Editorial Use Only, No Archive, No Resale
Folge 9
Bild: © HISTORY Photocredit Mandatory, Editorial Use Only, No Archive, No Resale
Folge 11
Alone 5 on location in Mongolia on Friday, August 25, 2017. Photo by Patrick T. Fallon
Bild: © The History Channel
Folge 3
Britt Ahart
Bild: © HISTORY Photocredit Mandatory, Editorial Use Only, No Archive, No Resale
Folge 3
Zachary Gault
Bild: © HISTORY Photocredit Mandatory, Editorial Use Only, No Archive, No Resale
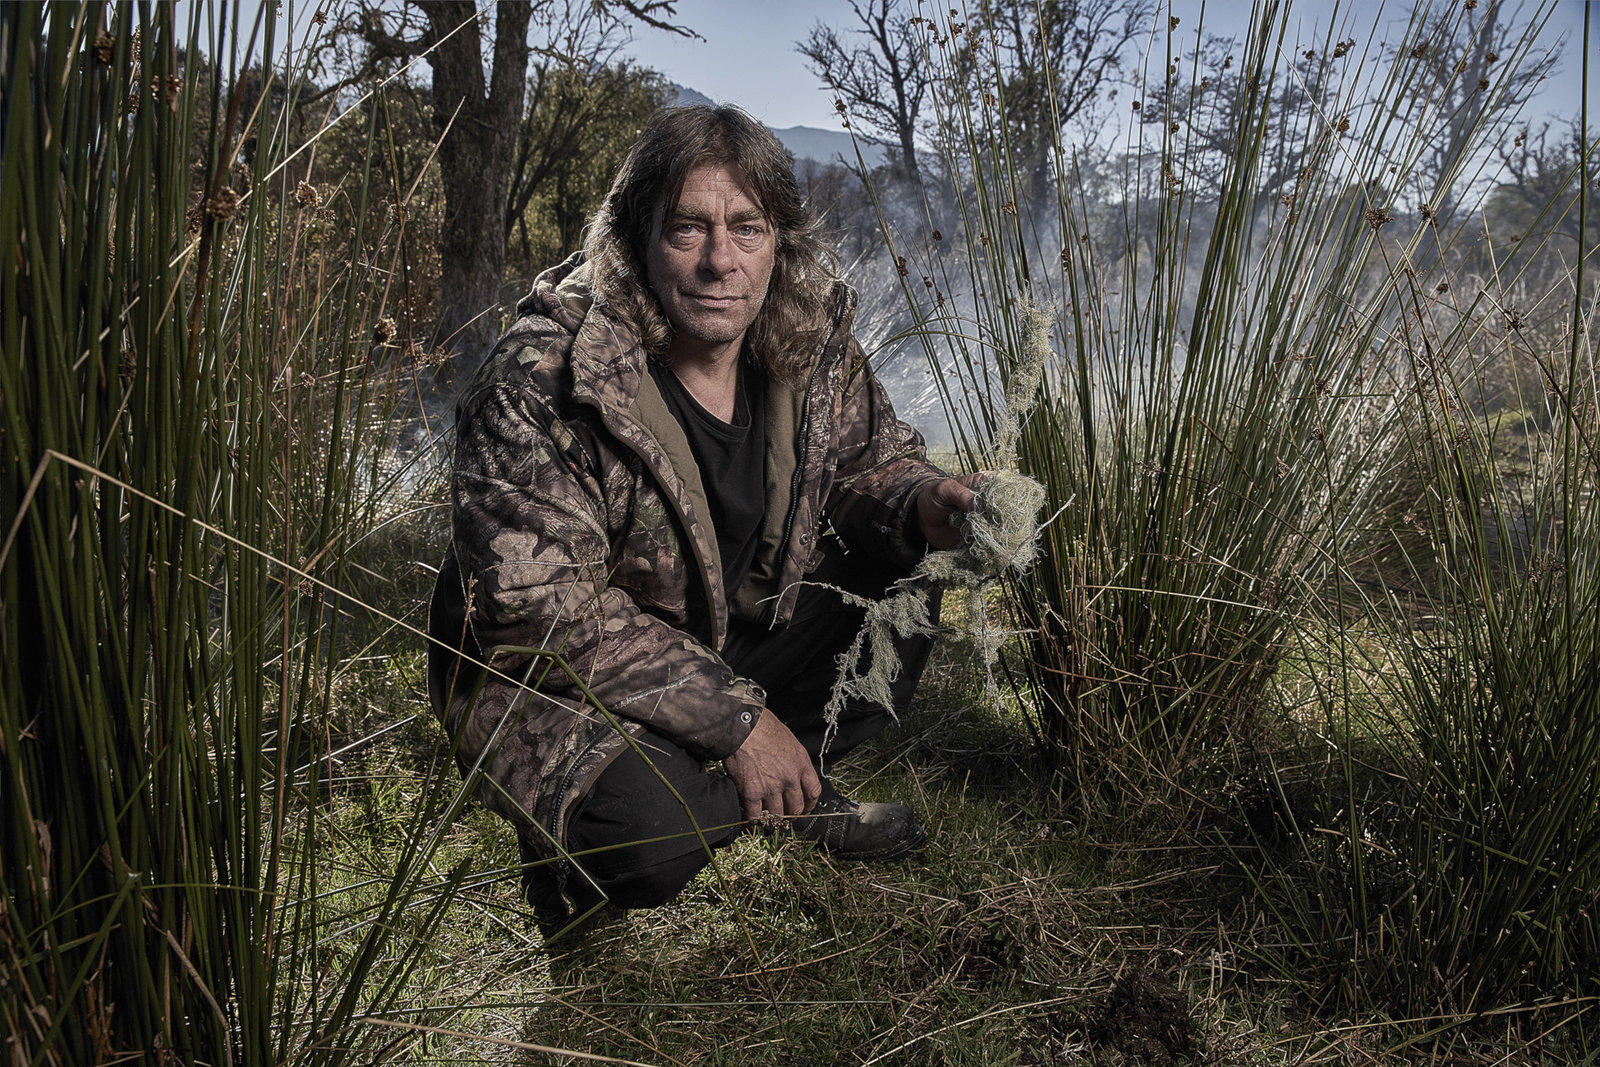
Folge 4
Greg Ovens
Bild: © HISTORY Photocredit Mandatory, Editorial Use Only, No Archive, No Resale
Folge 3
Chris Wilkes
Bild: © A+E Netowrks (C)HISTORY Photocredit Mandatory, Editorial Use Only, No Archive, No Resale
Folge 2
Bild: © HISTORY Photocredit Mandatory, Editorial Use Only, No Archive, No Resale
Folge 7
Bild: © A+E Netowrks (C)HISTORY Photocredit Mandatory, Editorial Use Only, No Archive, No Resale
Folge 2
Zachary Fowler
Bild: © HISTORY Photocredit Mandatory, Editorial Use Only, No Archive, No Resale
Folge 4
Carleigh Fairchild
Bild: © HISTORY Photocredit Mandatory, Editorial Use Only, No Archive, No Resale
 feiert Deutschlandpremiere") "Night Court": Comedyserie mit Melissa Rauch ("The Big Bang Theory") feiert Deutschlandpremiere
"Night Court": Comedyserie mit Melissa Rauch ("The Big Bang Theory") feiert Deutschlandpremiere


, Logan Riban (l)")


 feiert Deutschlandpremiere")


